Thank you to Zara Ashby and Tim Kontanko for sharing their RAW files with me for this video!
Check out Zara and Tim on Instagram!
Watch next:
iPad Pro Photography Workflow: Editing and Managing Photos on Your iPad
My iPad Pro Photography Workflow with Affinity Photo and Lightroom
How To Use Lightroom CC To Sync & Edit Your RAW Files Anywhere
Take Some Damn Photos Tees & Hoodies
Click on any image in this post to view it in full resolution
Today we’re going look at iPad Pro RAW Photo Editing. Specifically, we’re comparing six different RAW editing apps for iPad, so you can choose the best RAW editor for you.
That apps we’re comparing are Lightroom, Affinity Photo, Pixelmator Photo, RAW Power, Snapseed, and Darkroom.
With this comparison we’re going to be looking at two things across two videos.
In this video we’ll look at how well each app handles and edits RAW data, in other words, how good or bad a photo looks after being edited,
and in the next video we’re going to look at and compare the overall feature set of these different RAW editing apps.
For the actual RAW editing, I did two comparisons.
Comparison one Is a direct comparison, where as much as possible I applied the exact same settings to the same photo in each RAW editor.
Comparison two is a relative comparison, where I edited the same photo in each RAW editor, trying to make it look as good as possible, regardless of the settings used in any of the other apps.
For both of these comparisons, Lightroom is the benchmark app, because whether you love it or hate it, Lightroom is pretty much the industry standard RAW editor, and if you hate it, it’s the editor you’re looking to replace.
The first comparison we’ll look at is the direct comparison, and to be fair to the other RAW editors there was one Lightroom tool I didn’t use, even though I think it’s an incredibly powerful tool and a huge advantage for Lightroom as far as RAW editing goes.
That tool is the profile tool.
DIRECT COMPARISON
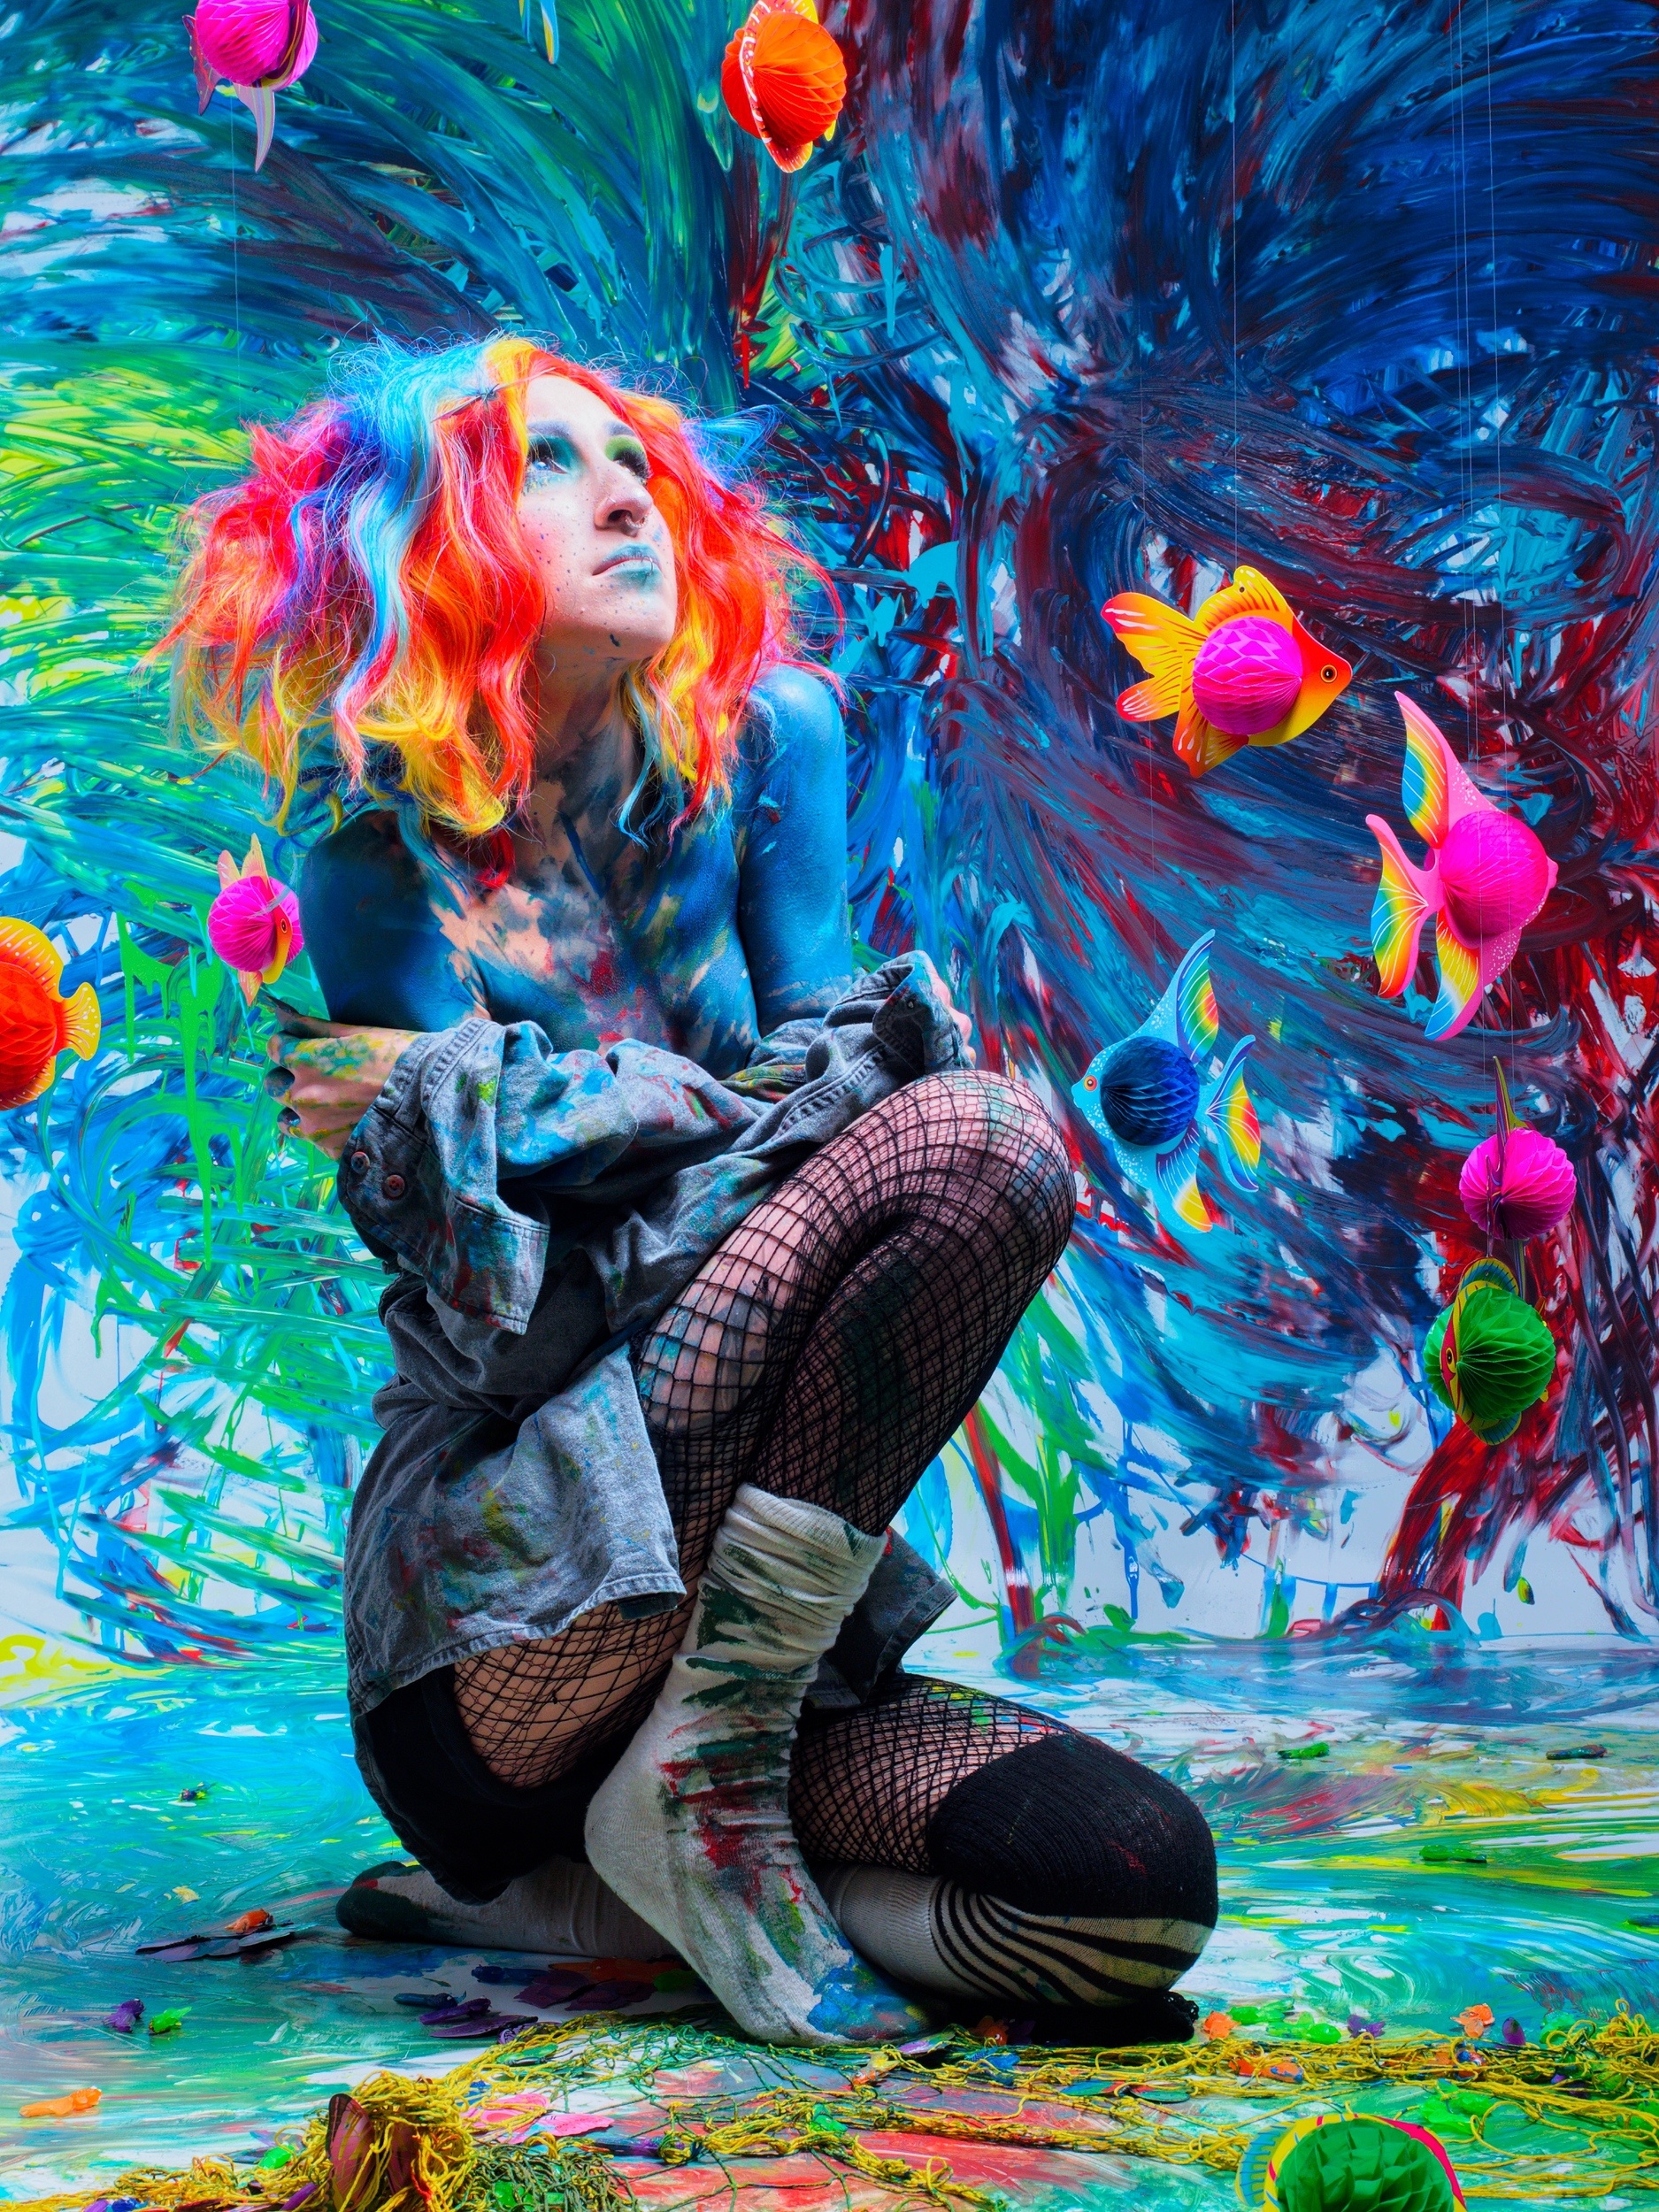
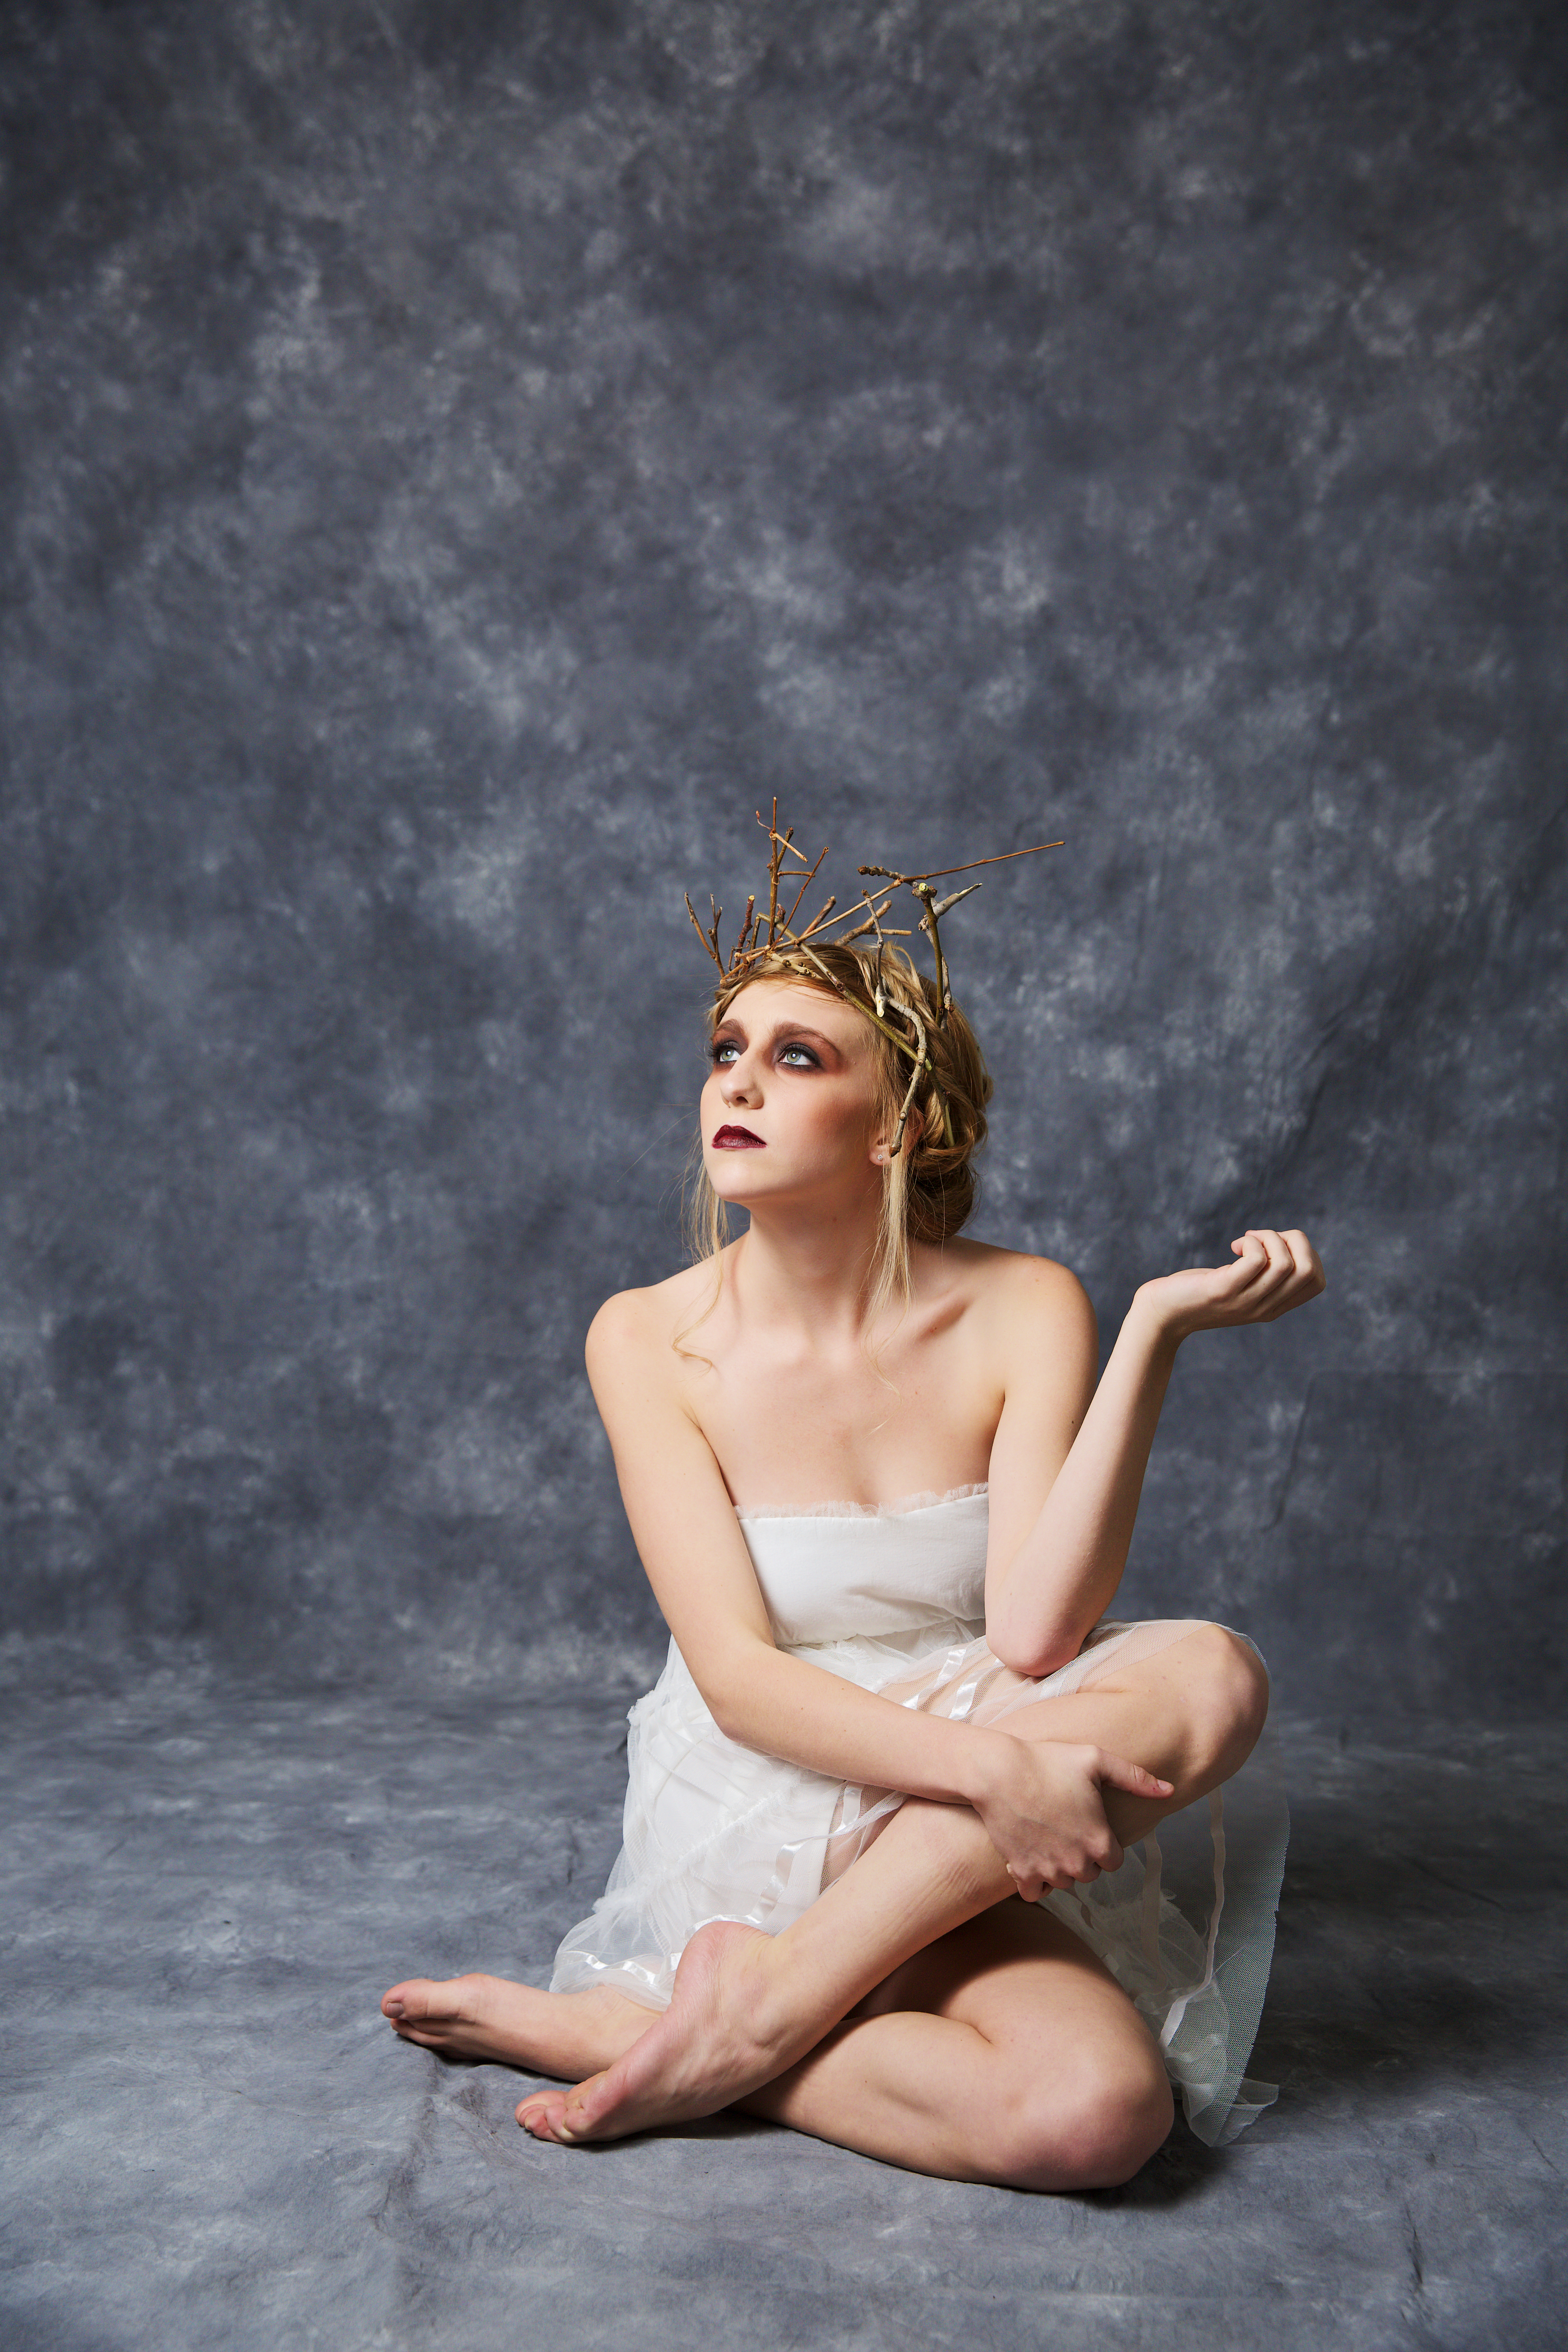
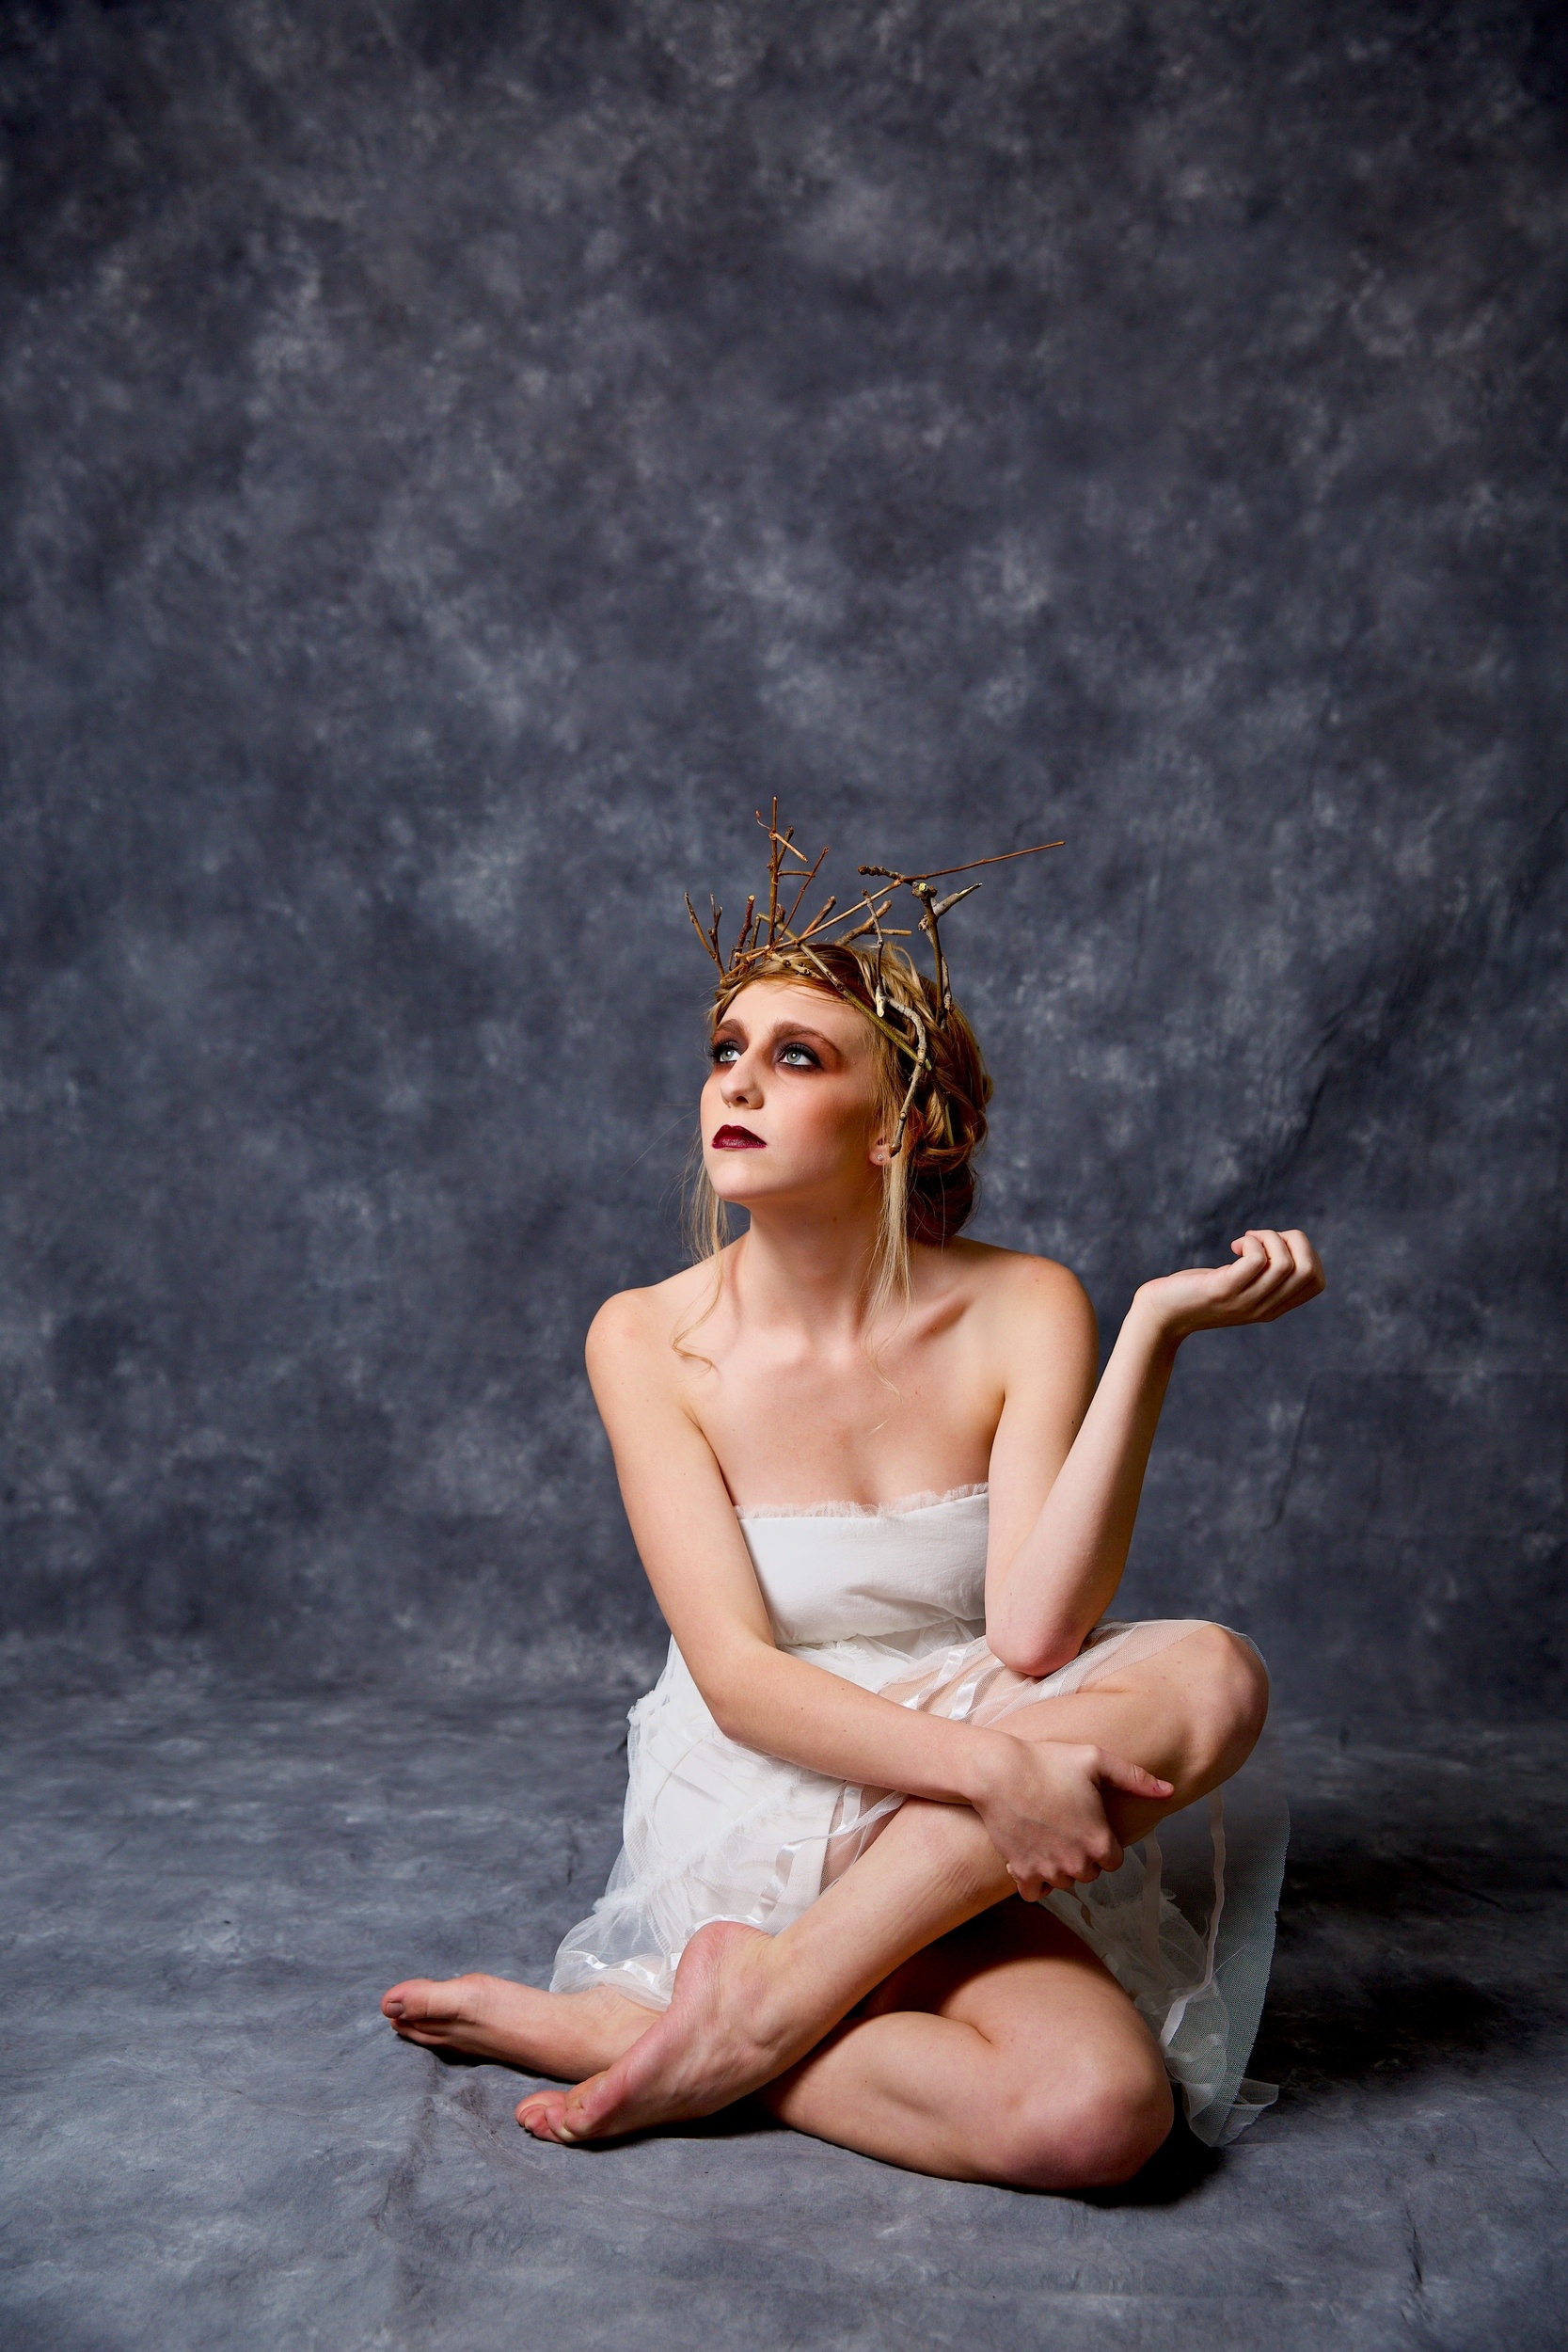
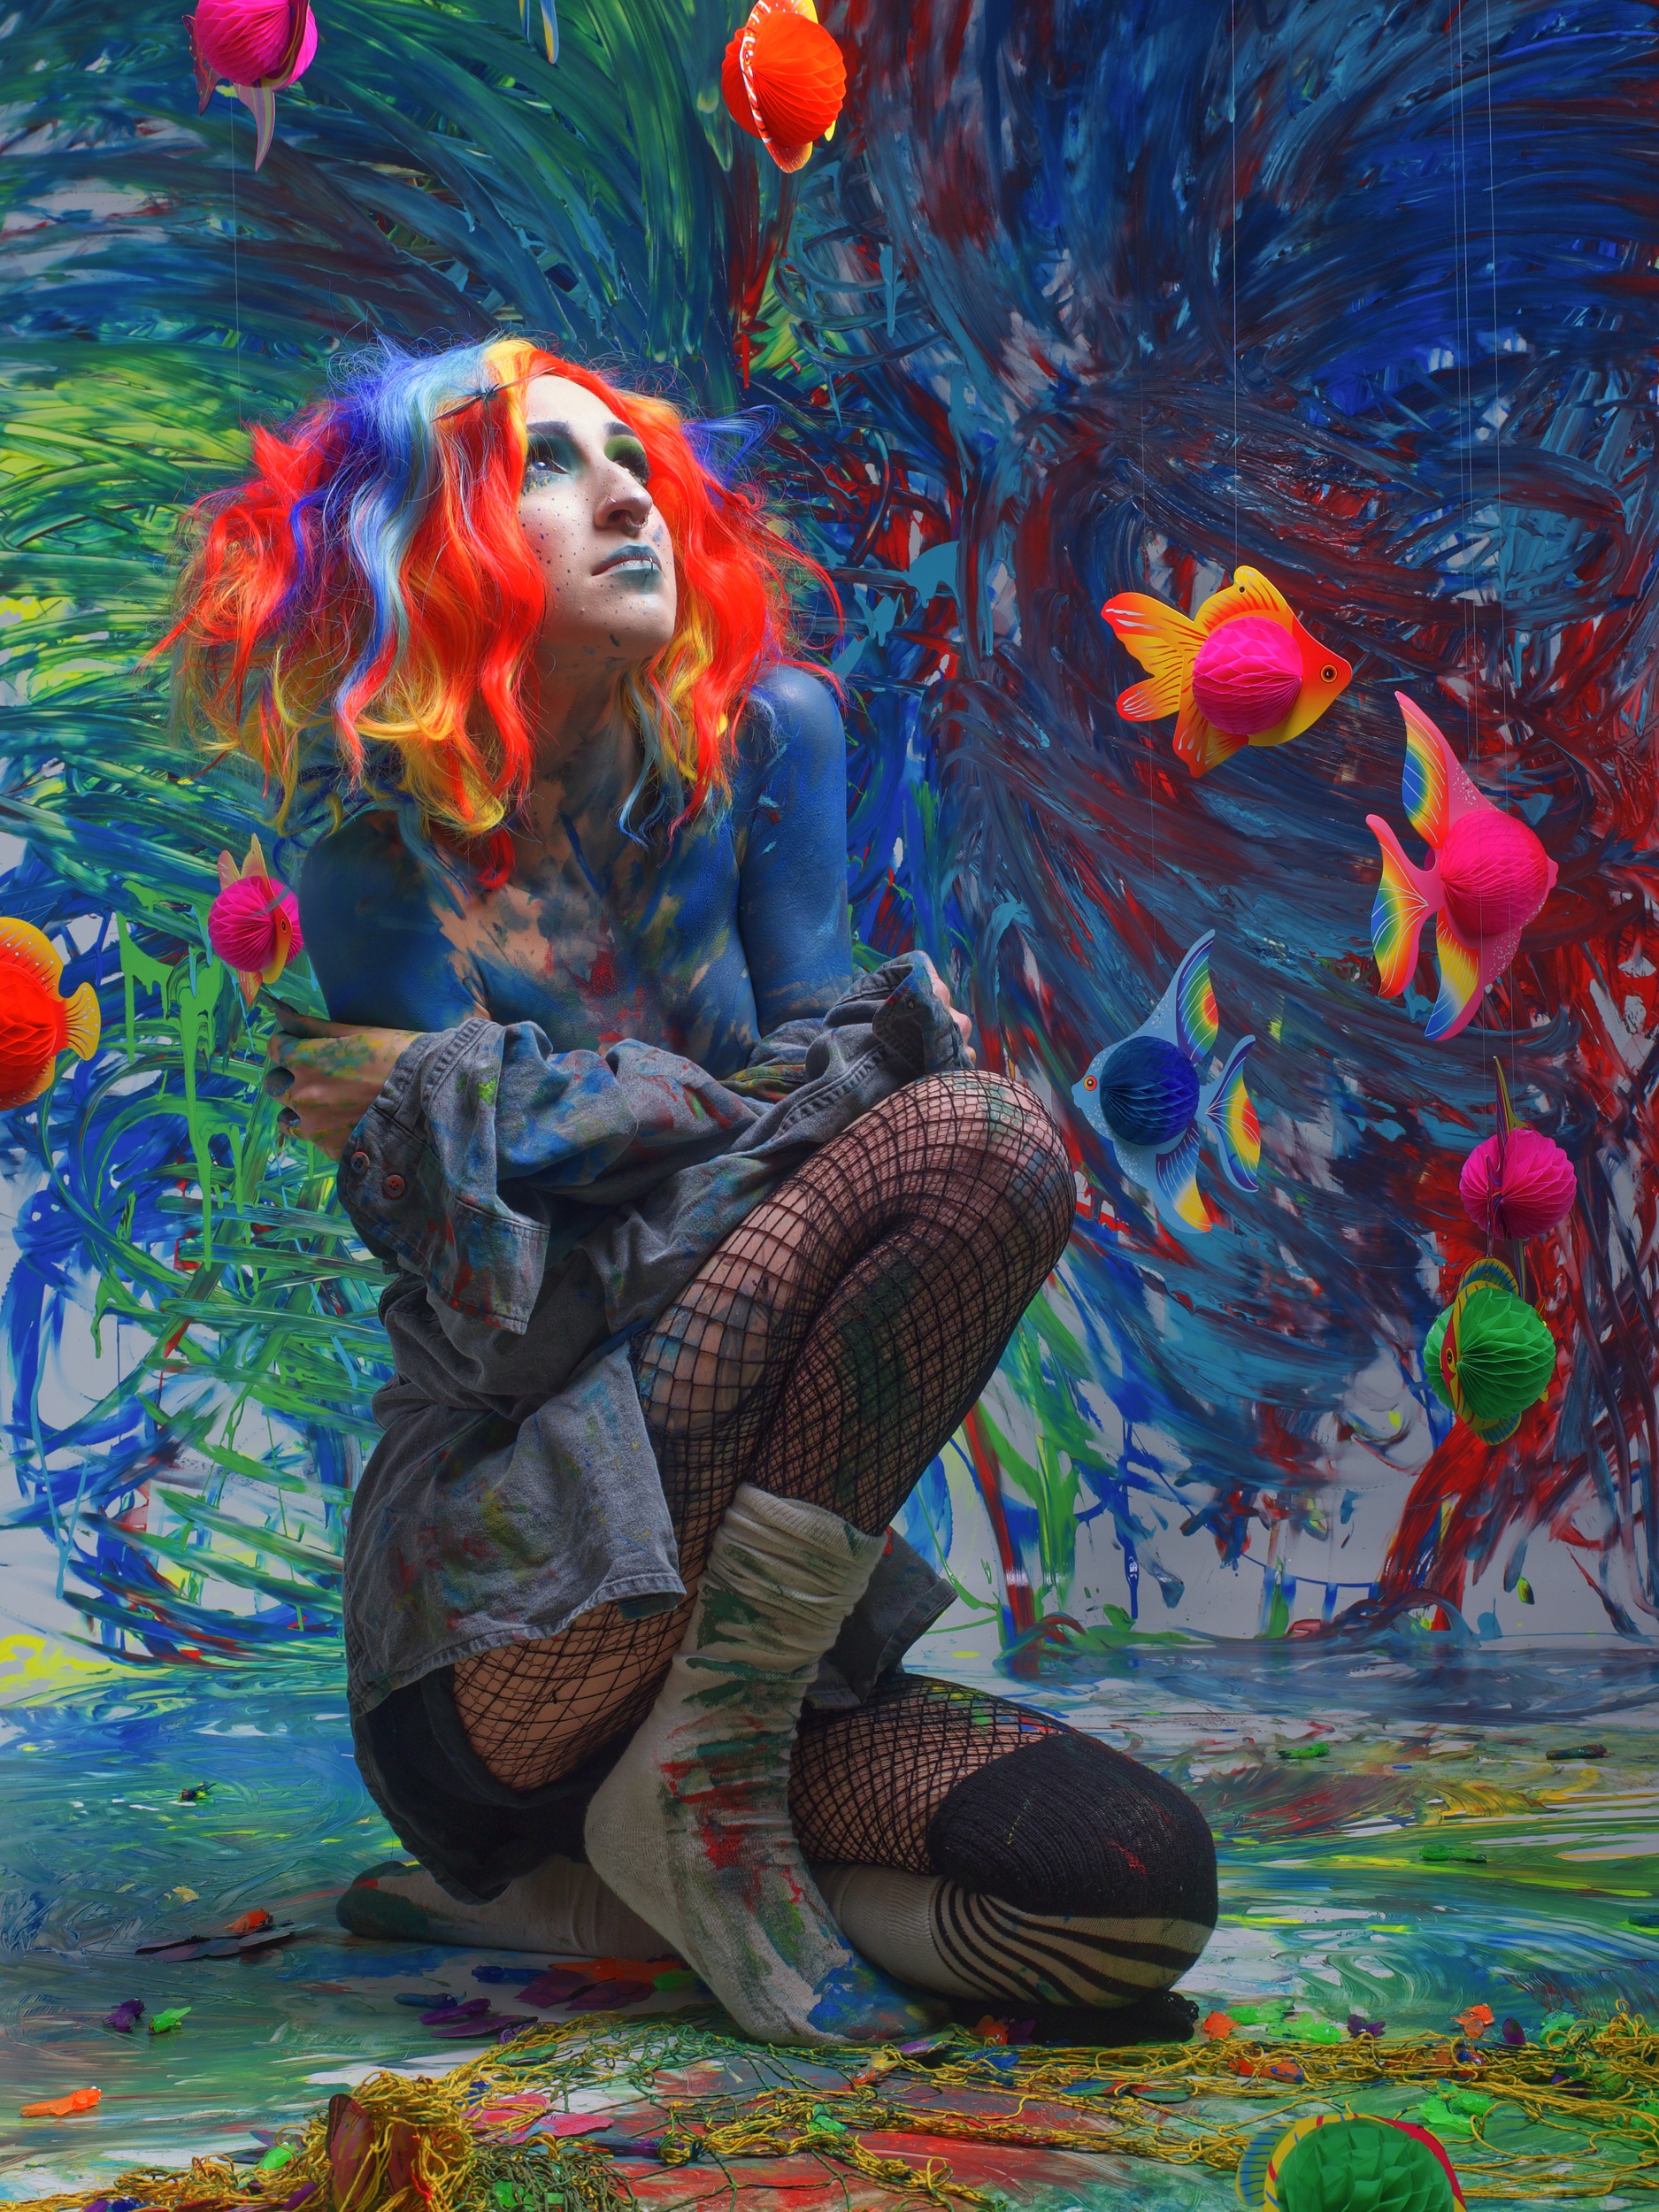
Here’s what my unedited RAW file looked like on import into Lightroom, with the default Adobe Color profile applied to it.
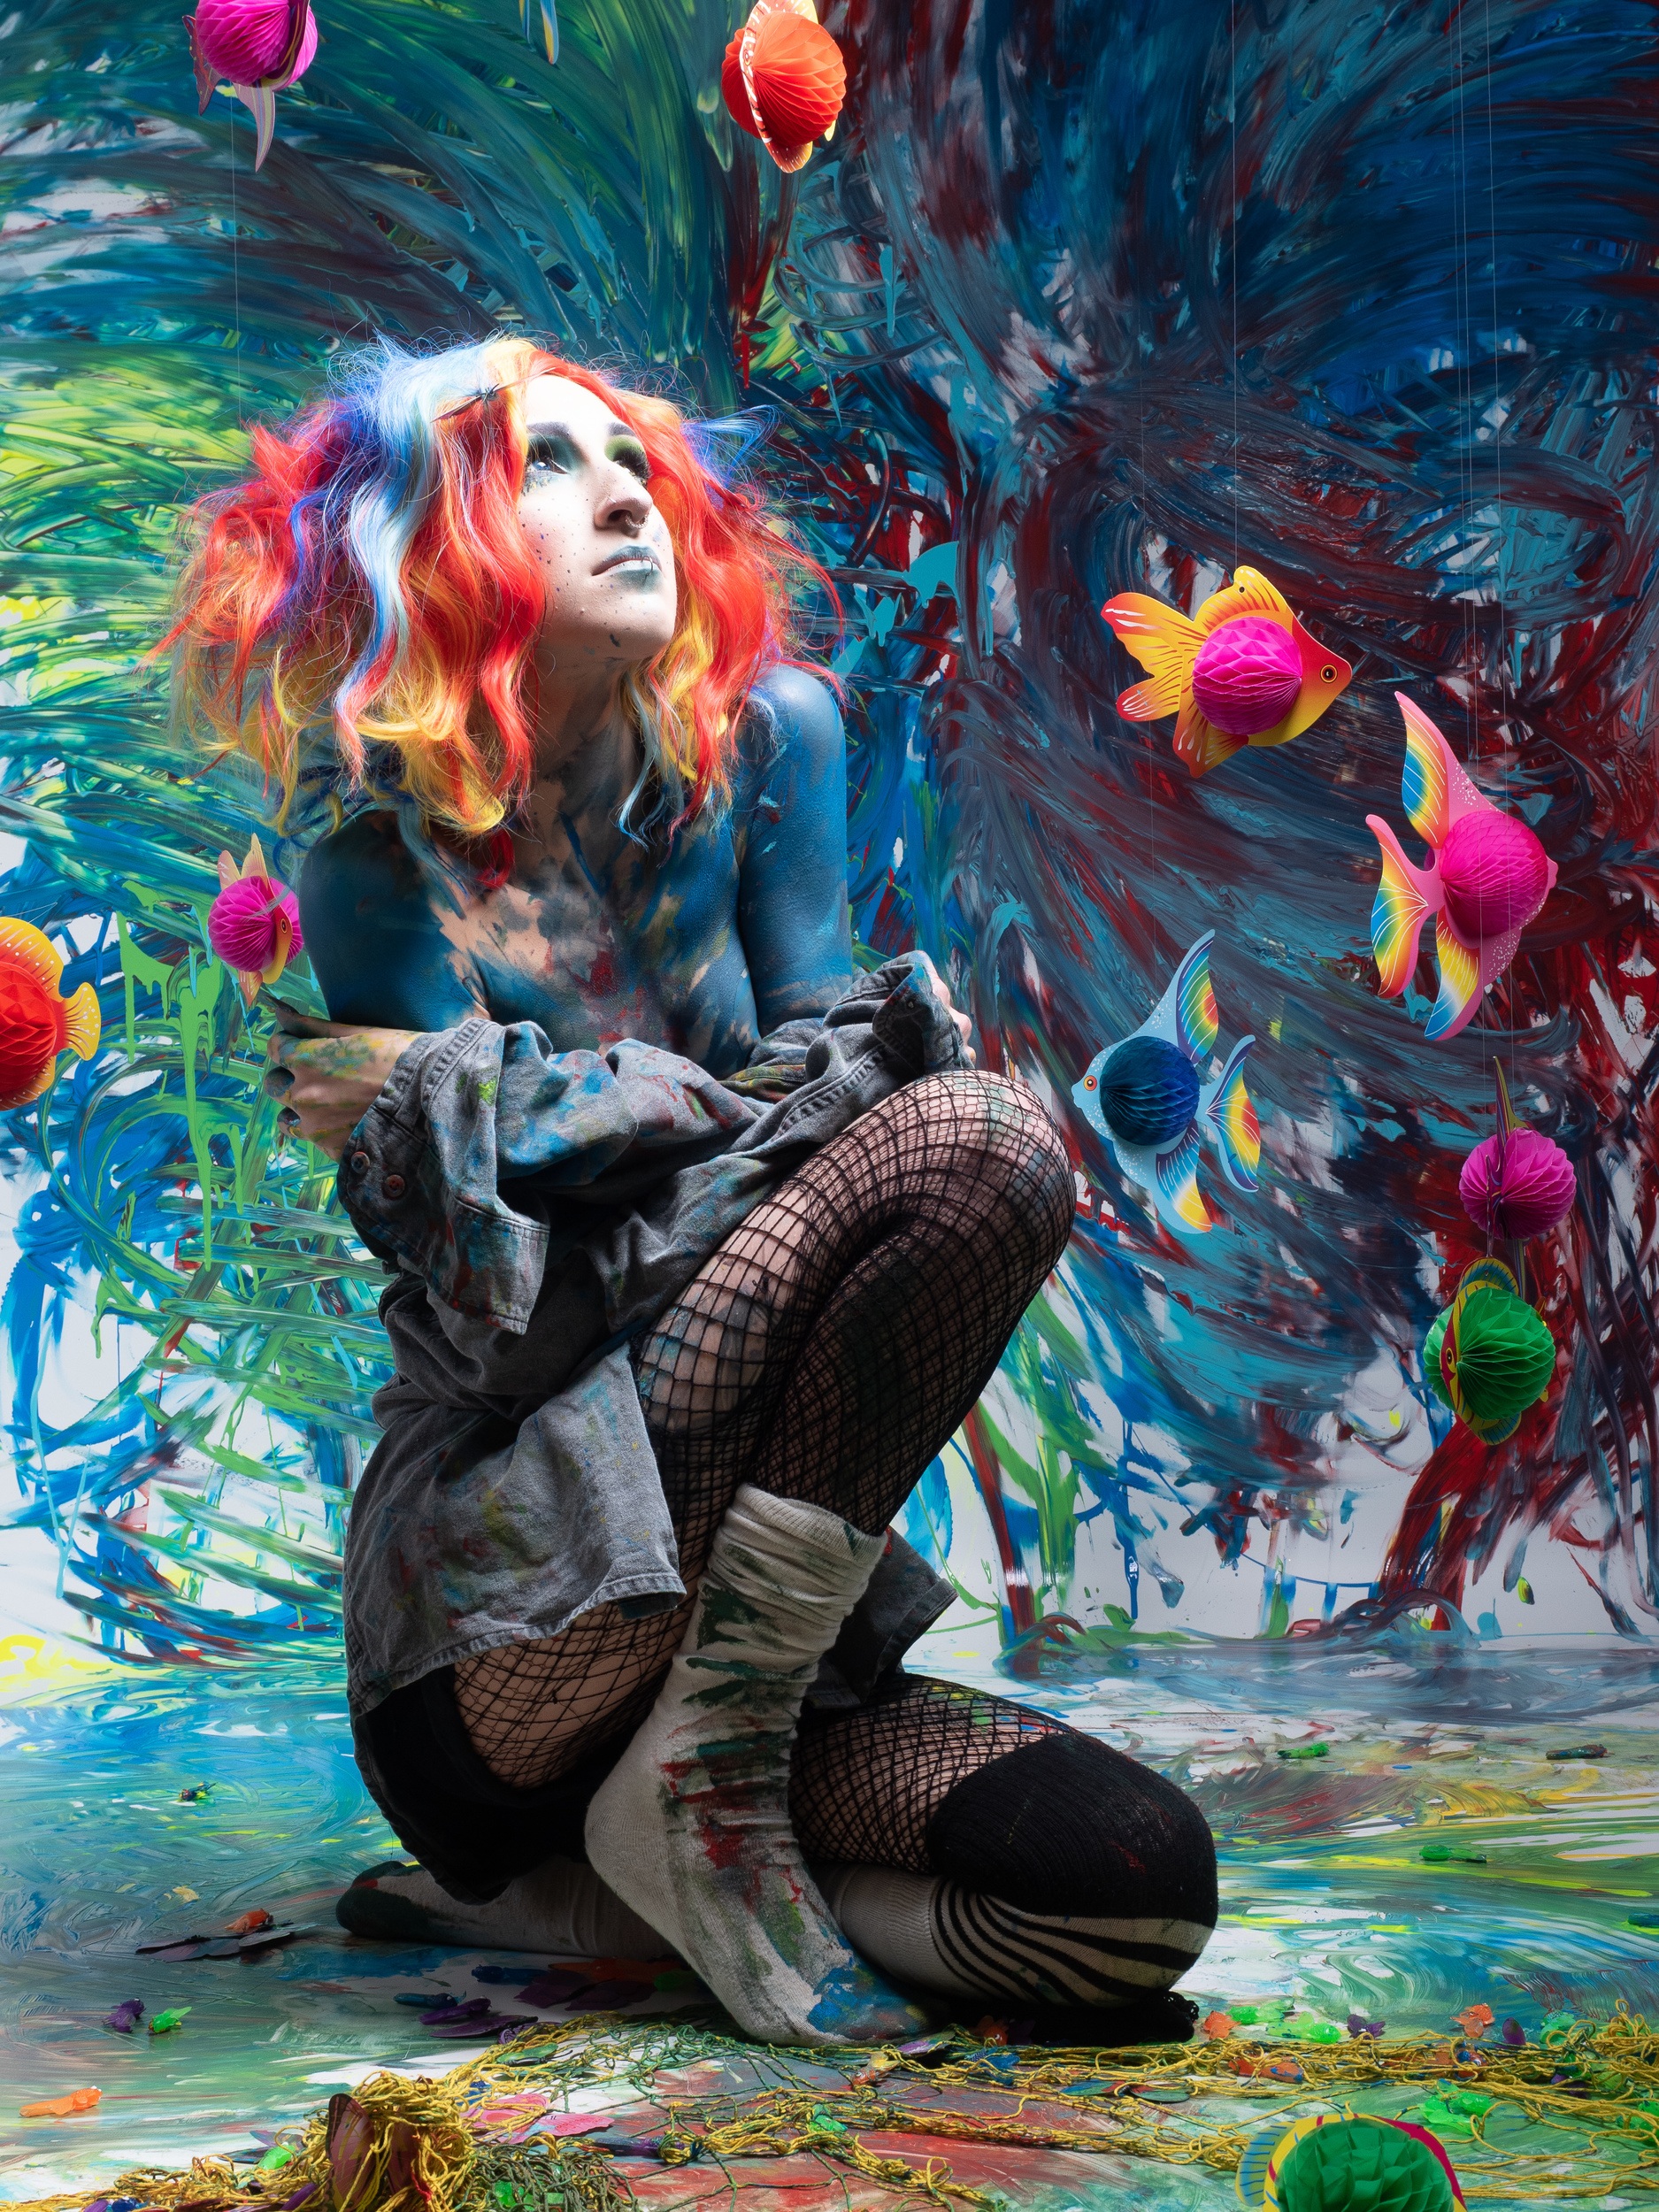
Olympus RAW File SOOC
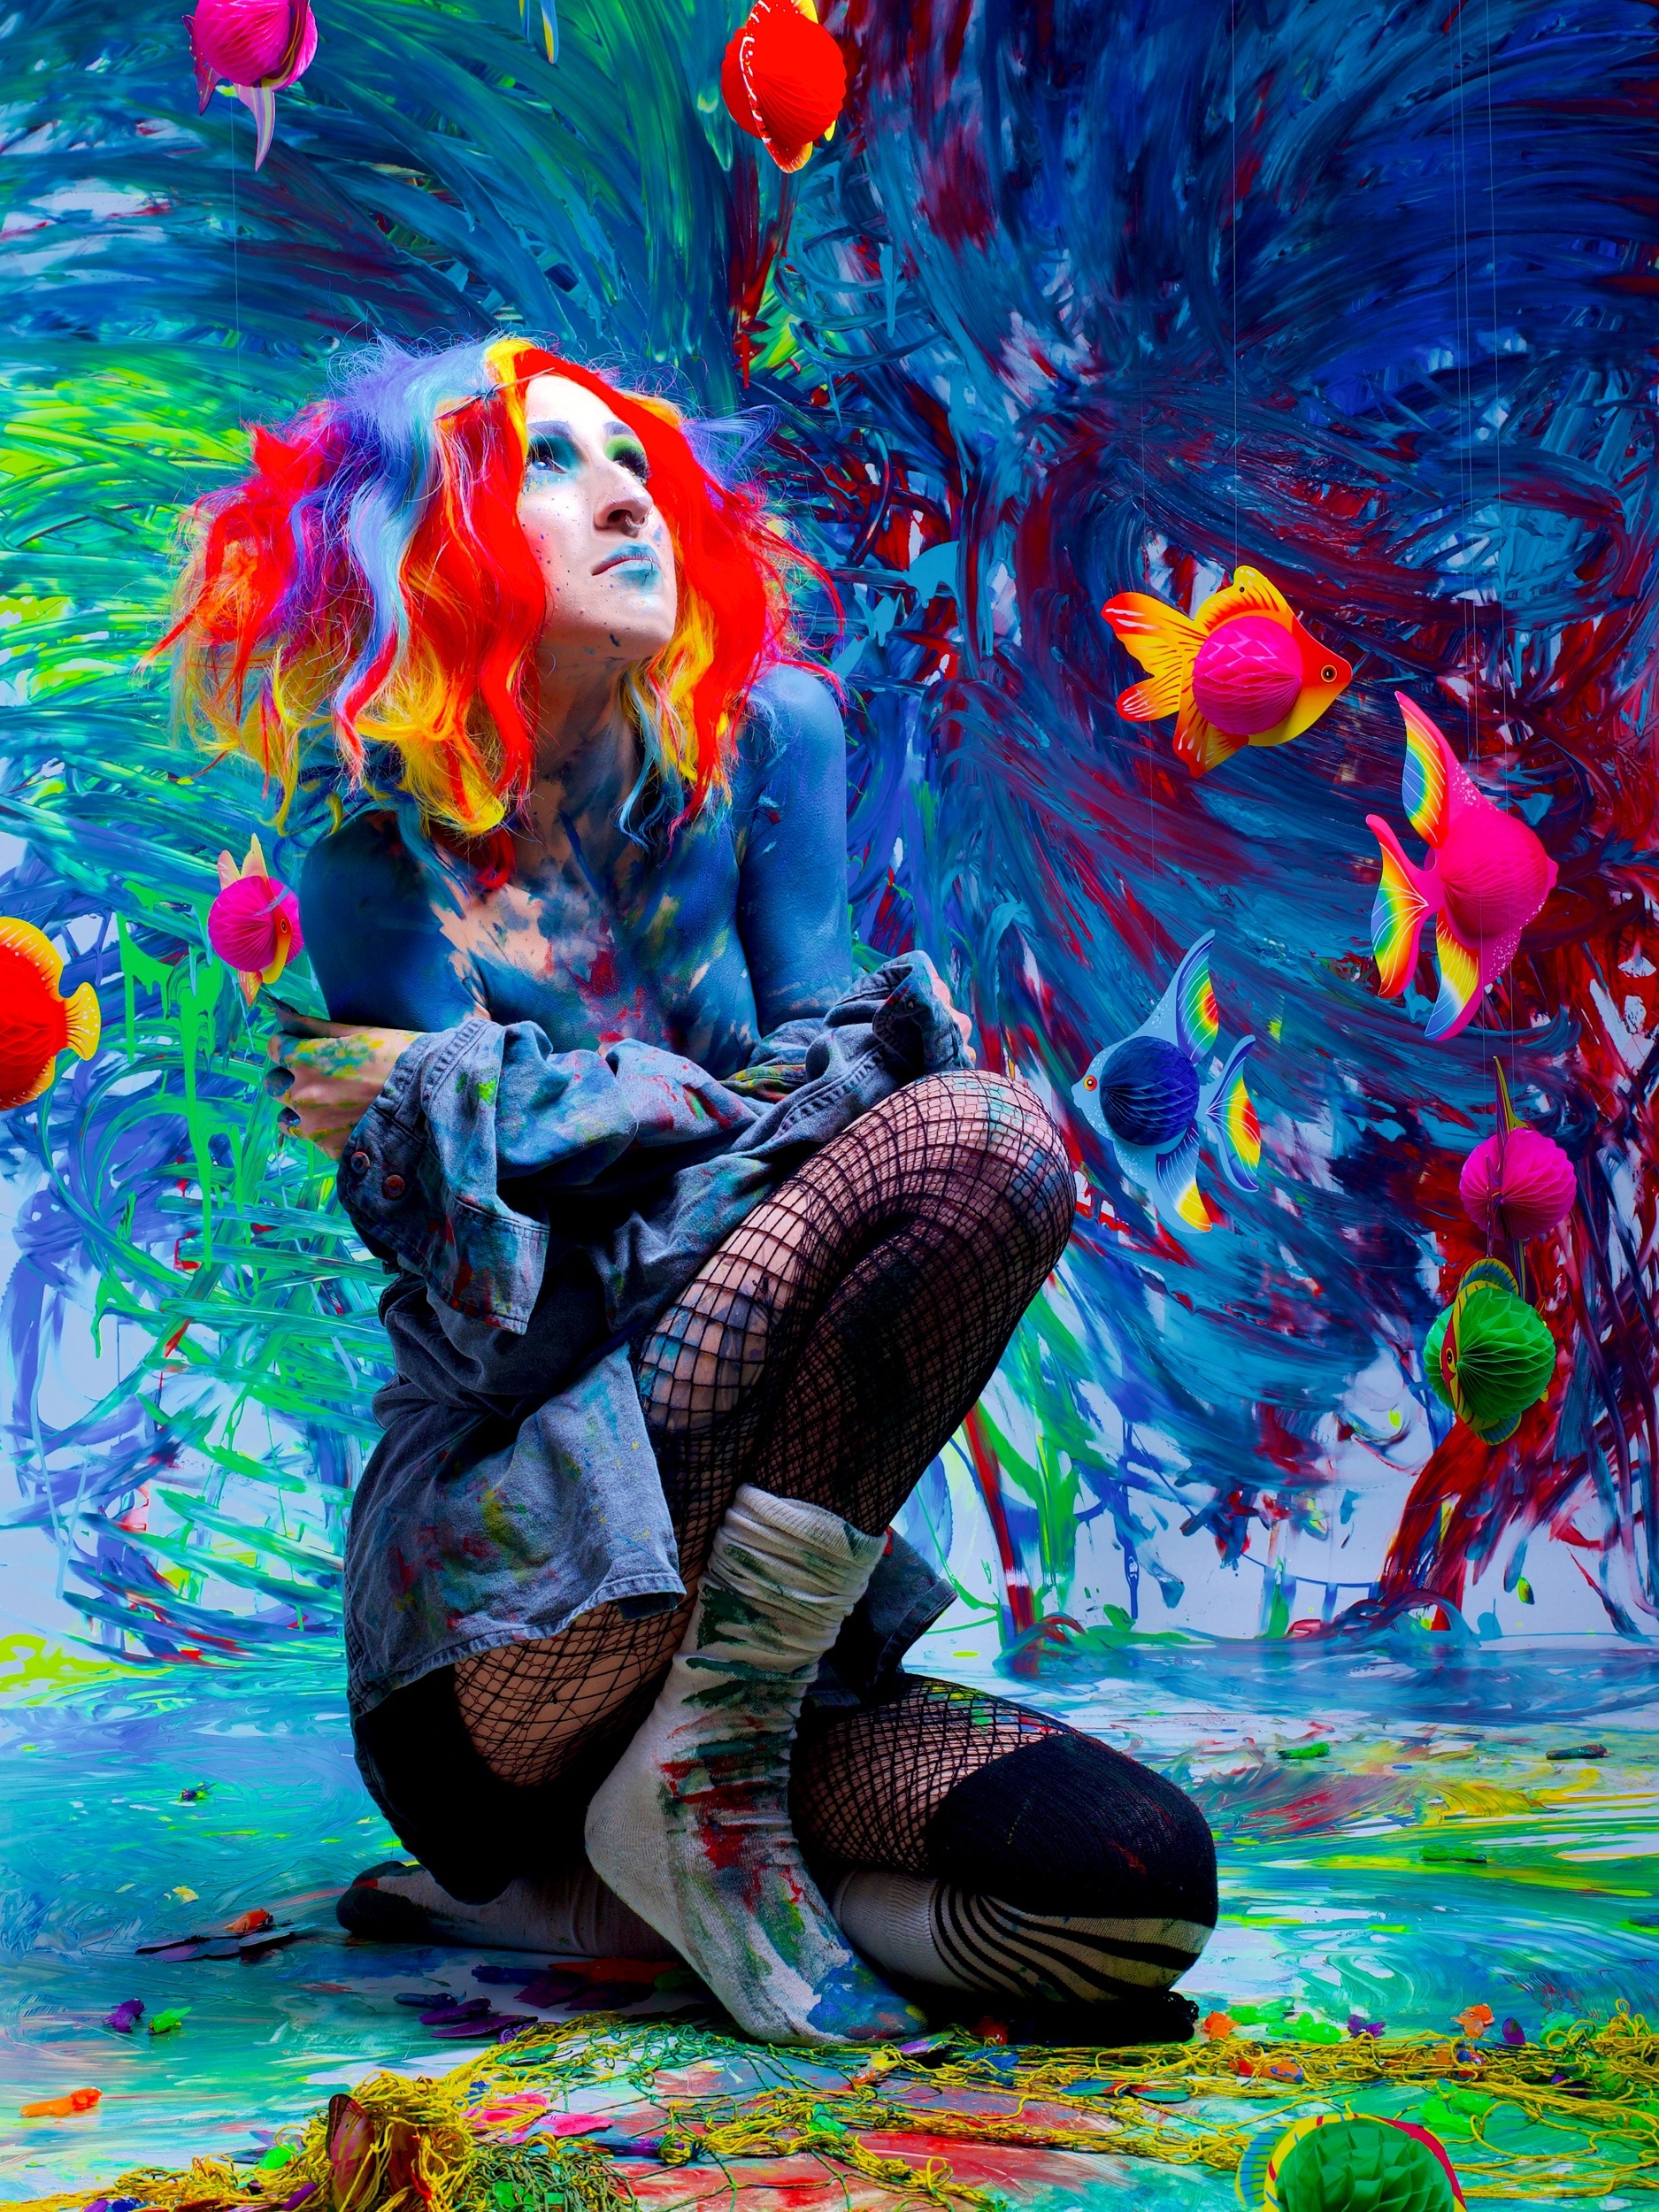
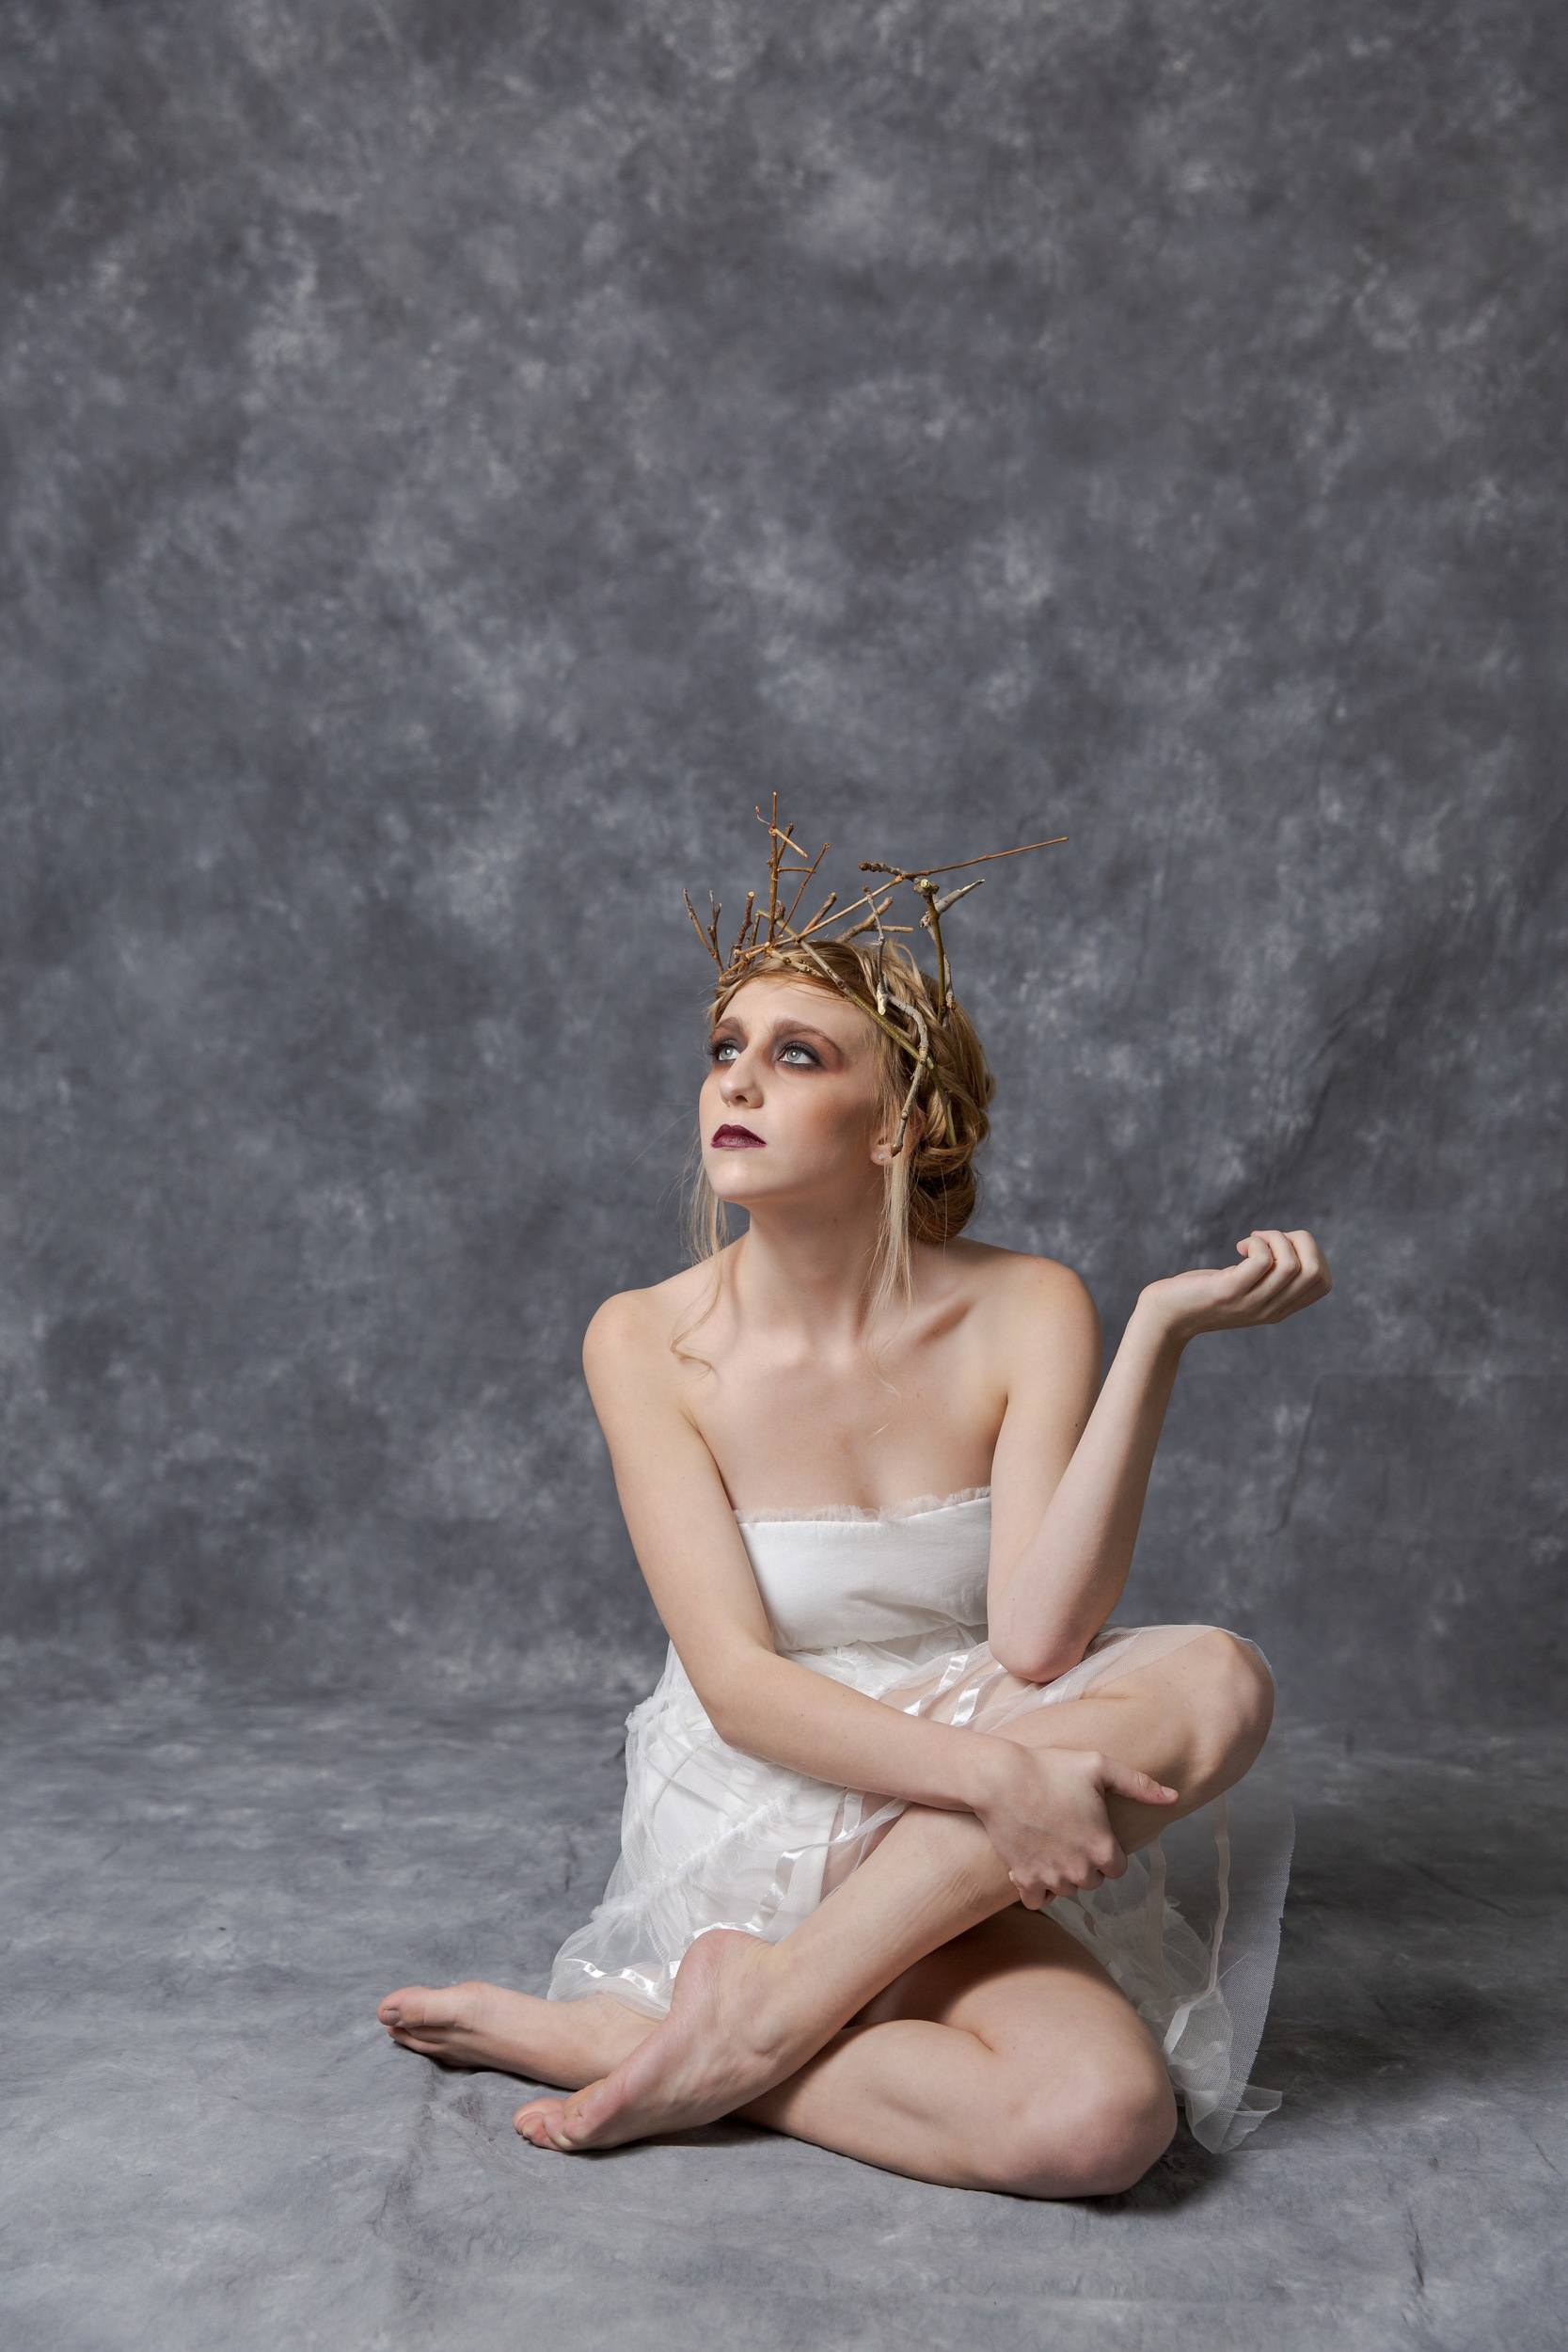
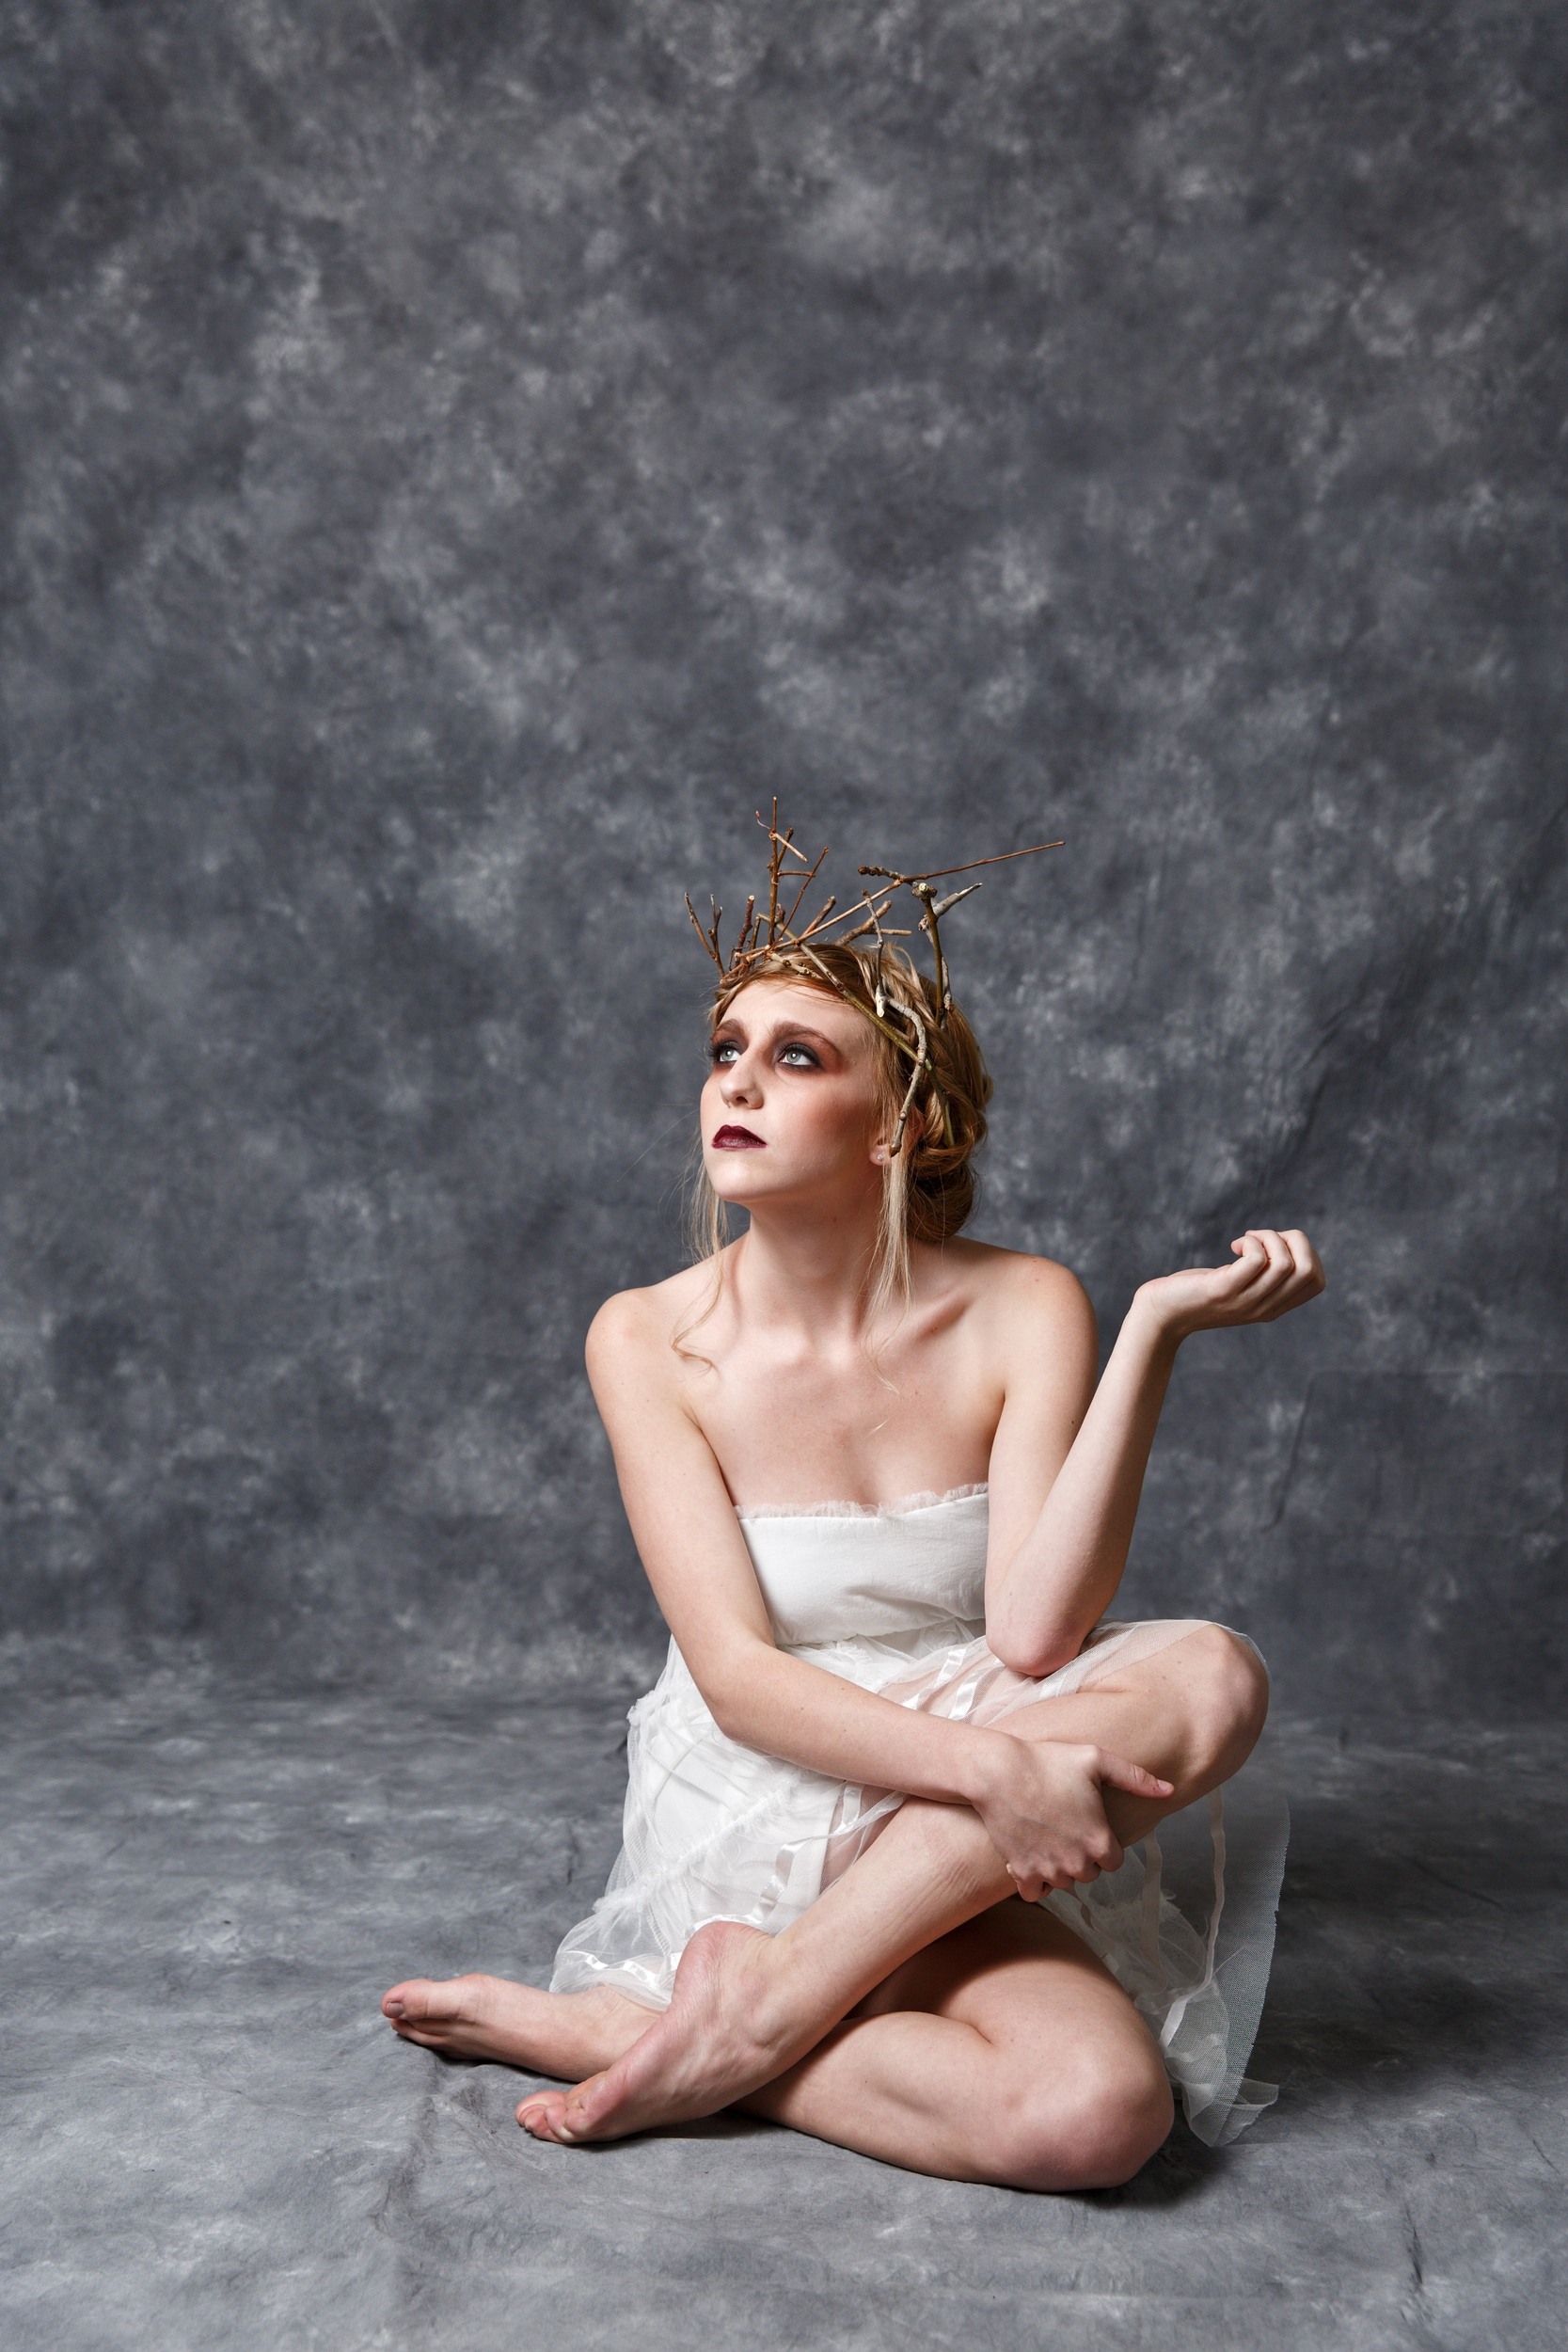
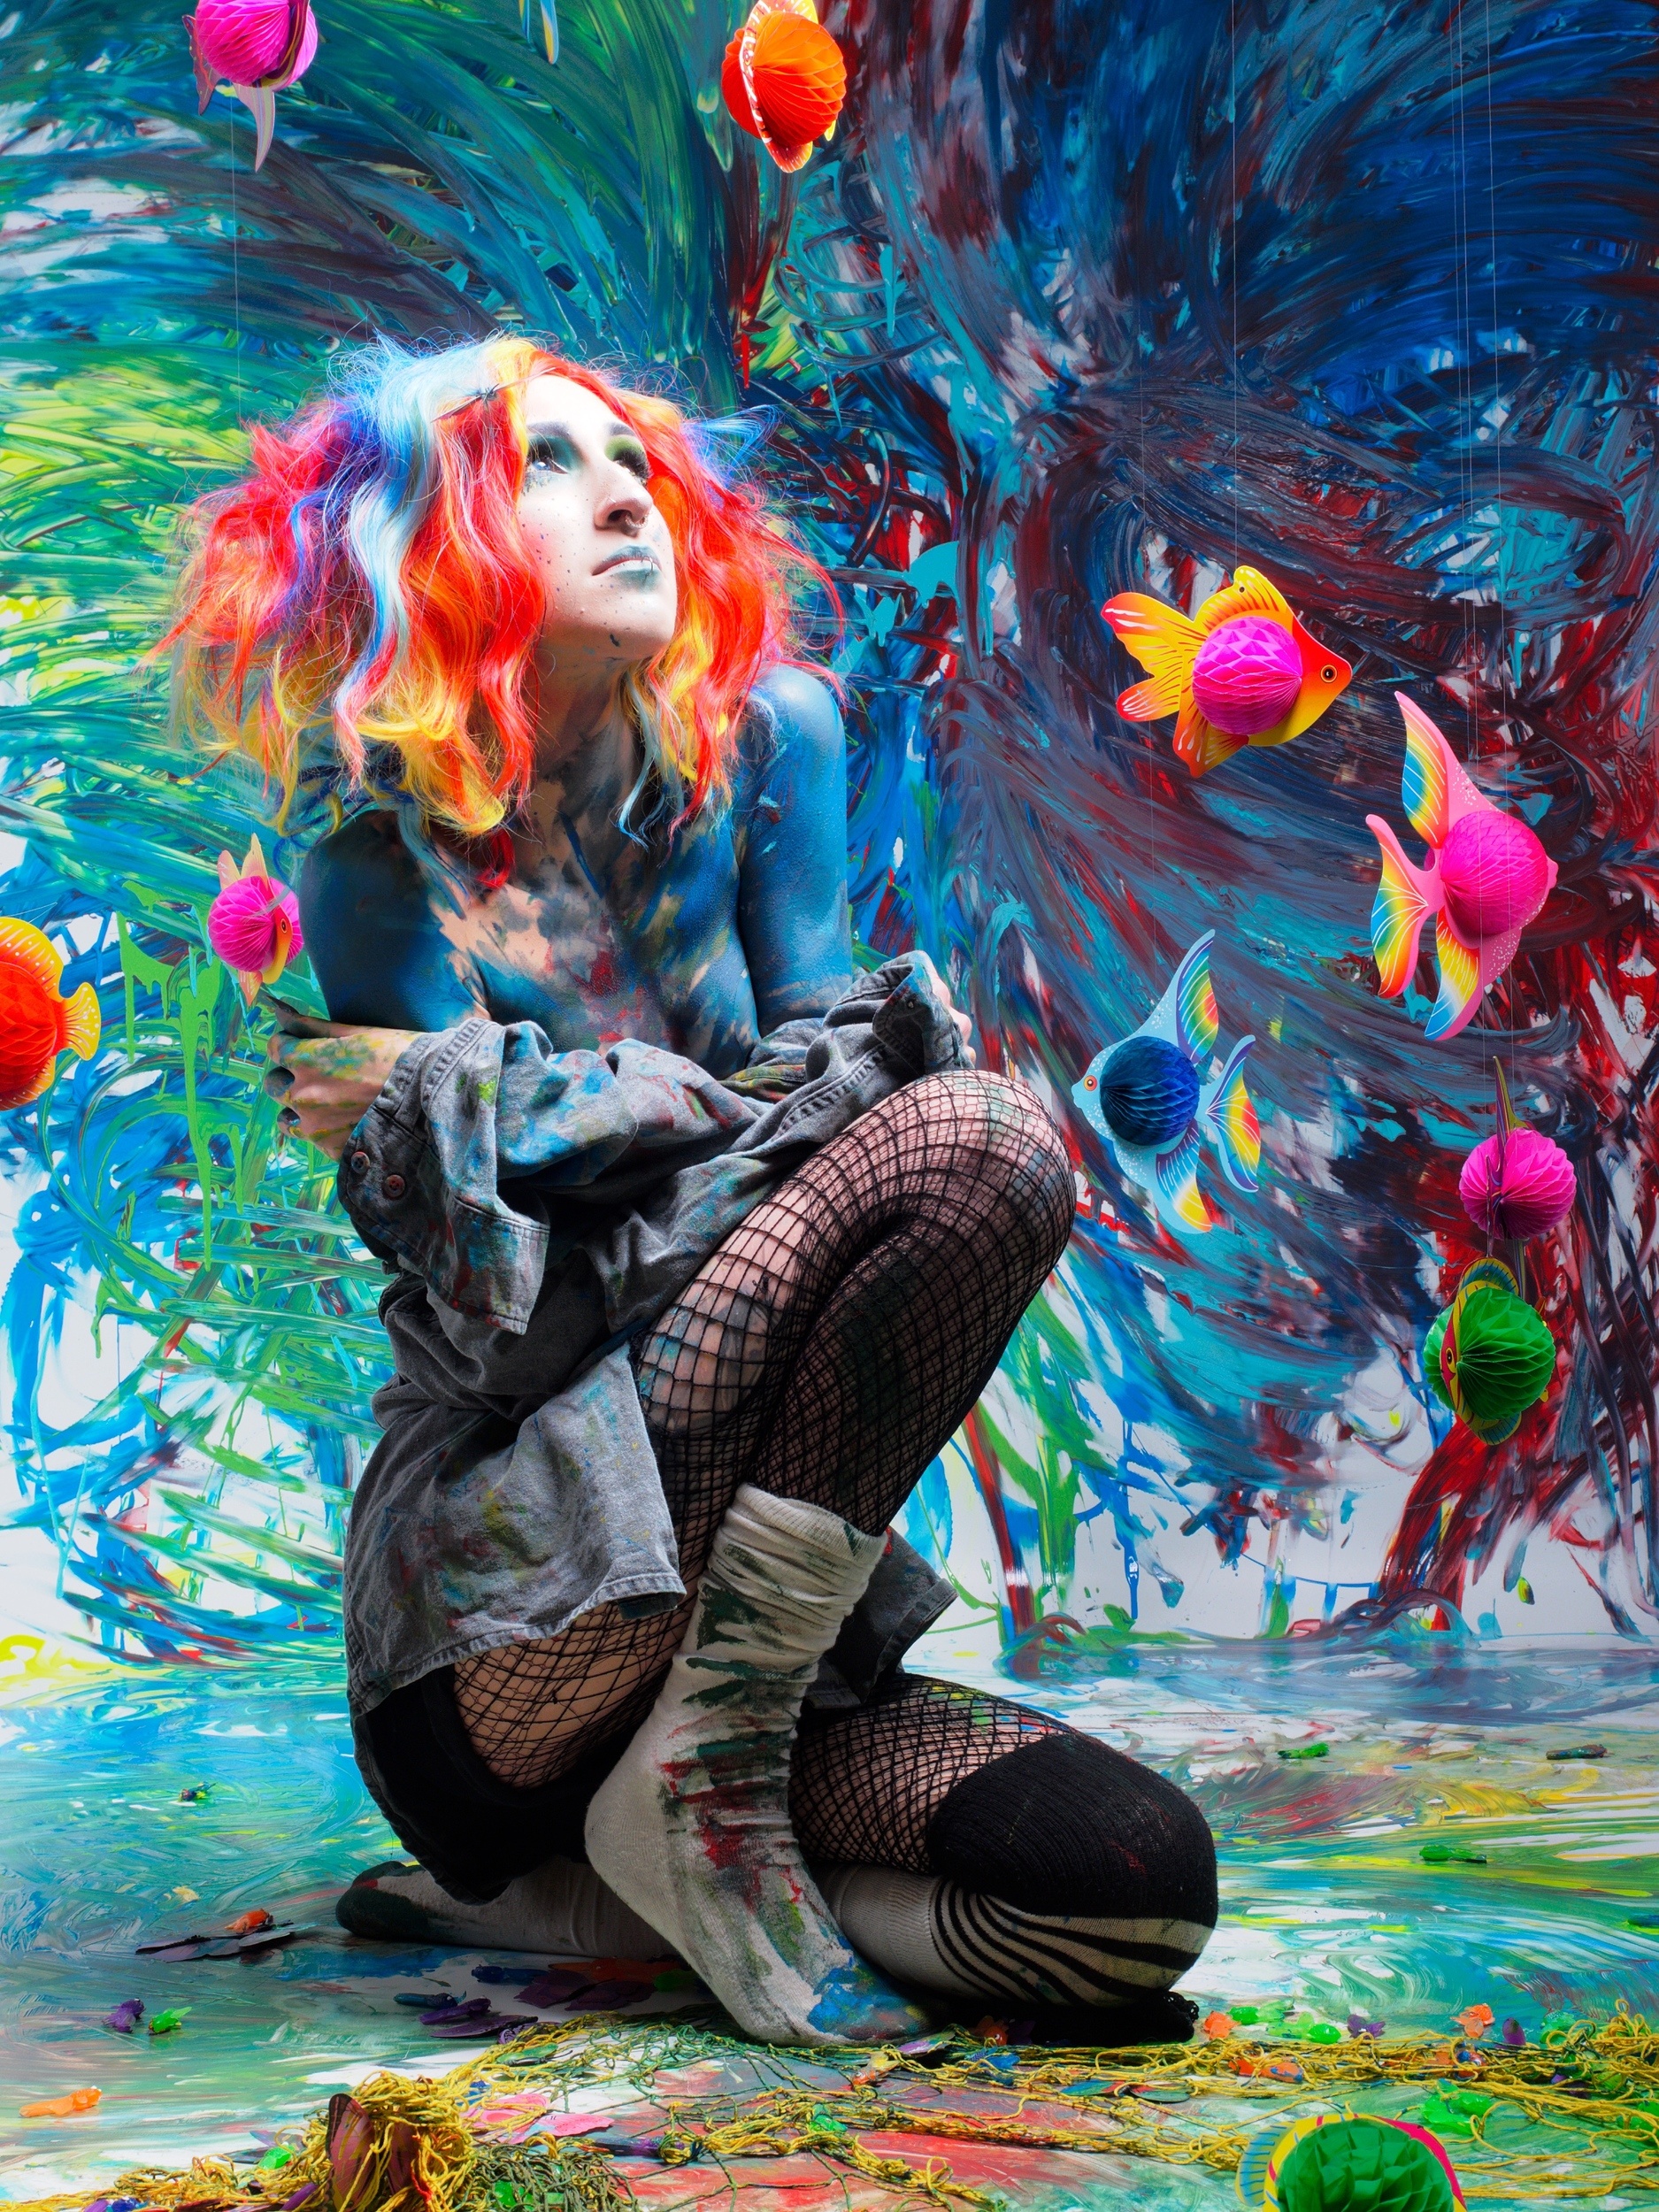
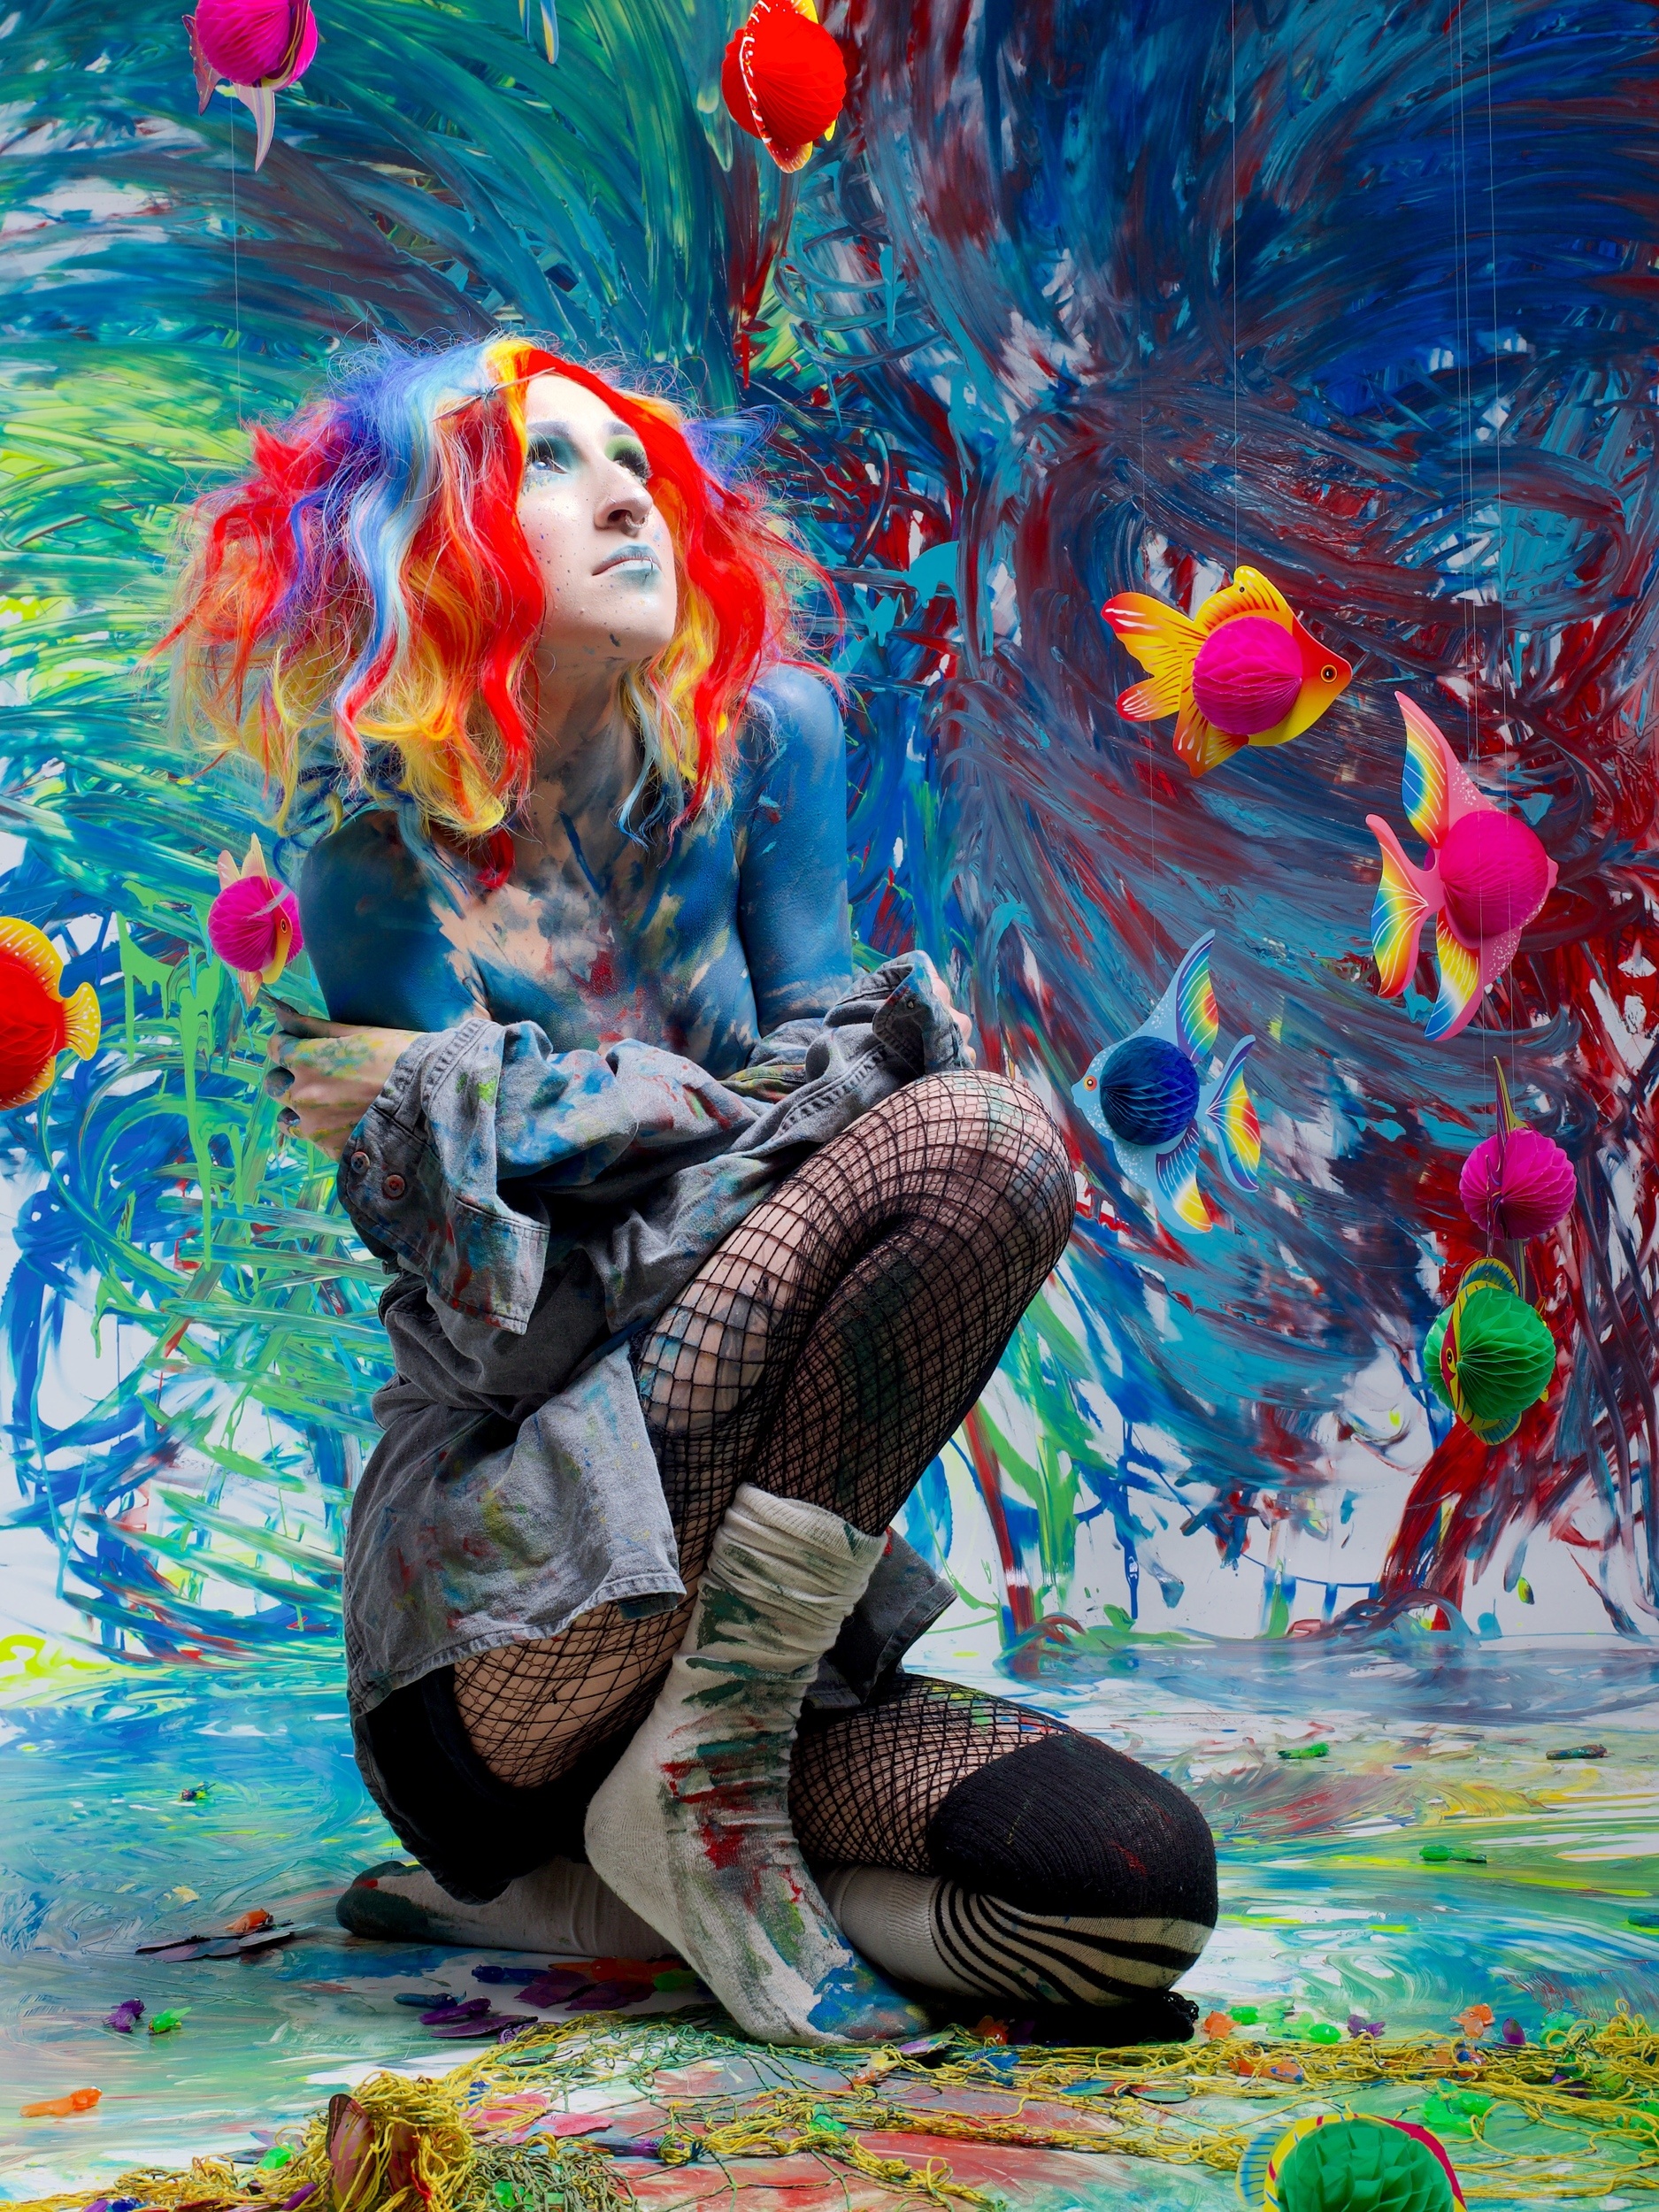
These are the edits that I made in Lightroom, and what the photo looked like after that edit.
Edits:
Exposure: +.47
Contrast: +15
Highlights: -100
Whites: +5
White Balance: Custom w/ Eyedropper
Vibrance: +20
Saturation: +38
Texture: +18
Clarity: +10
Sharpening: 60
Masking: 90
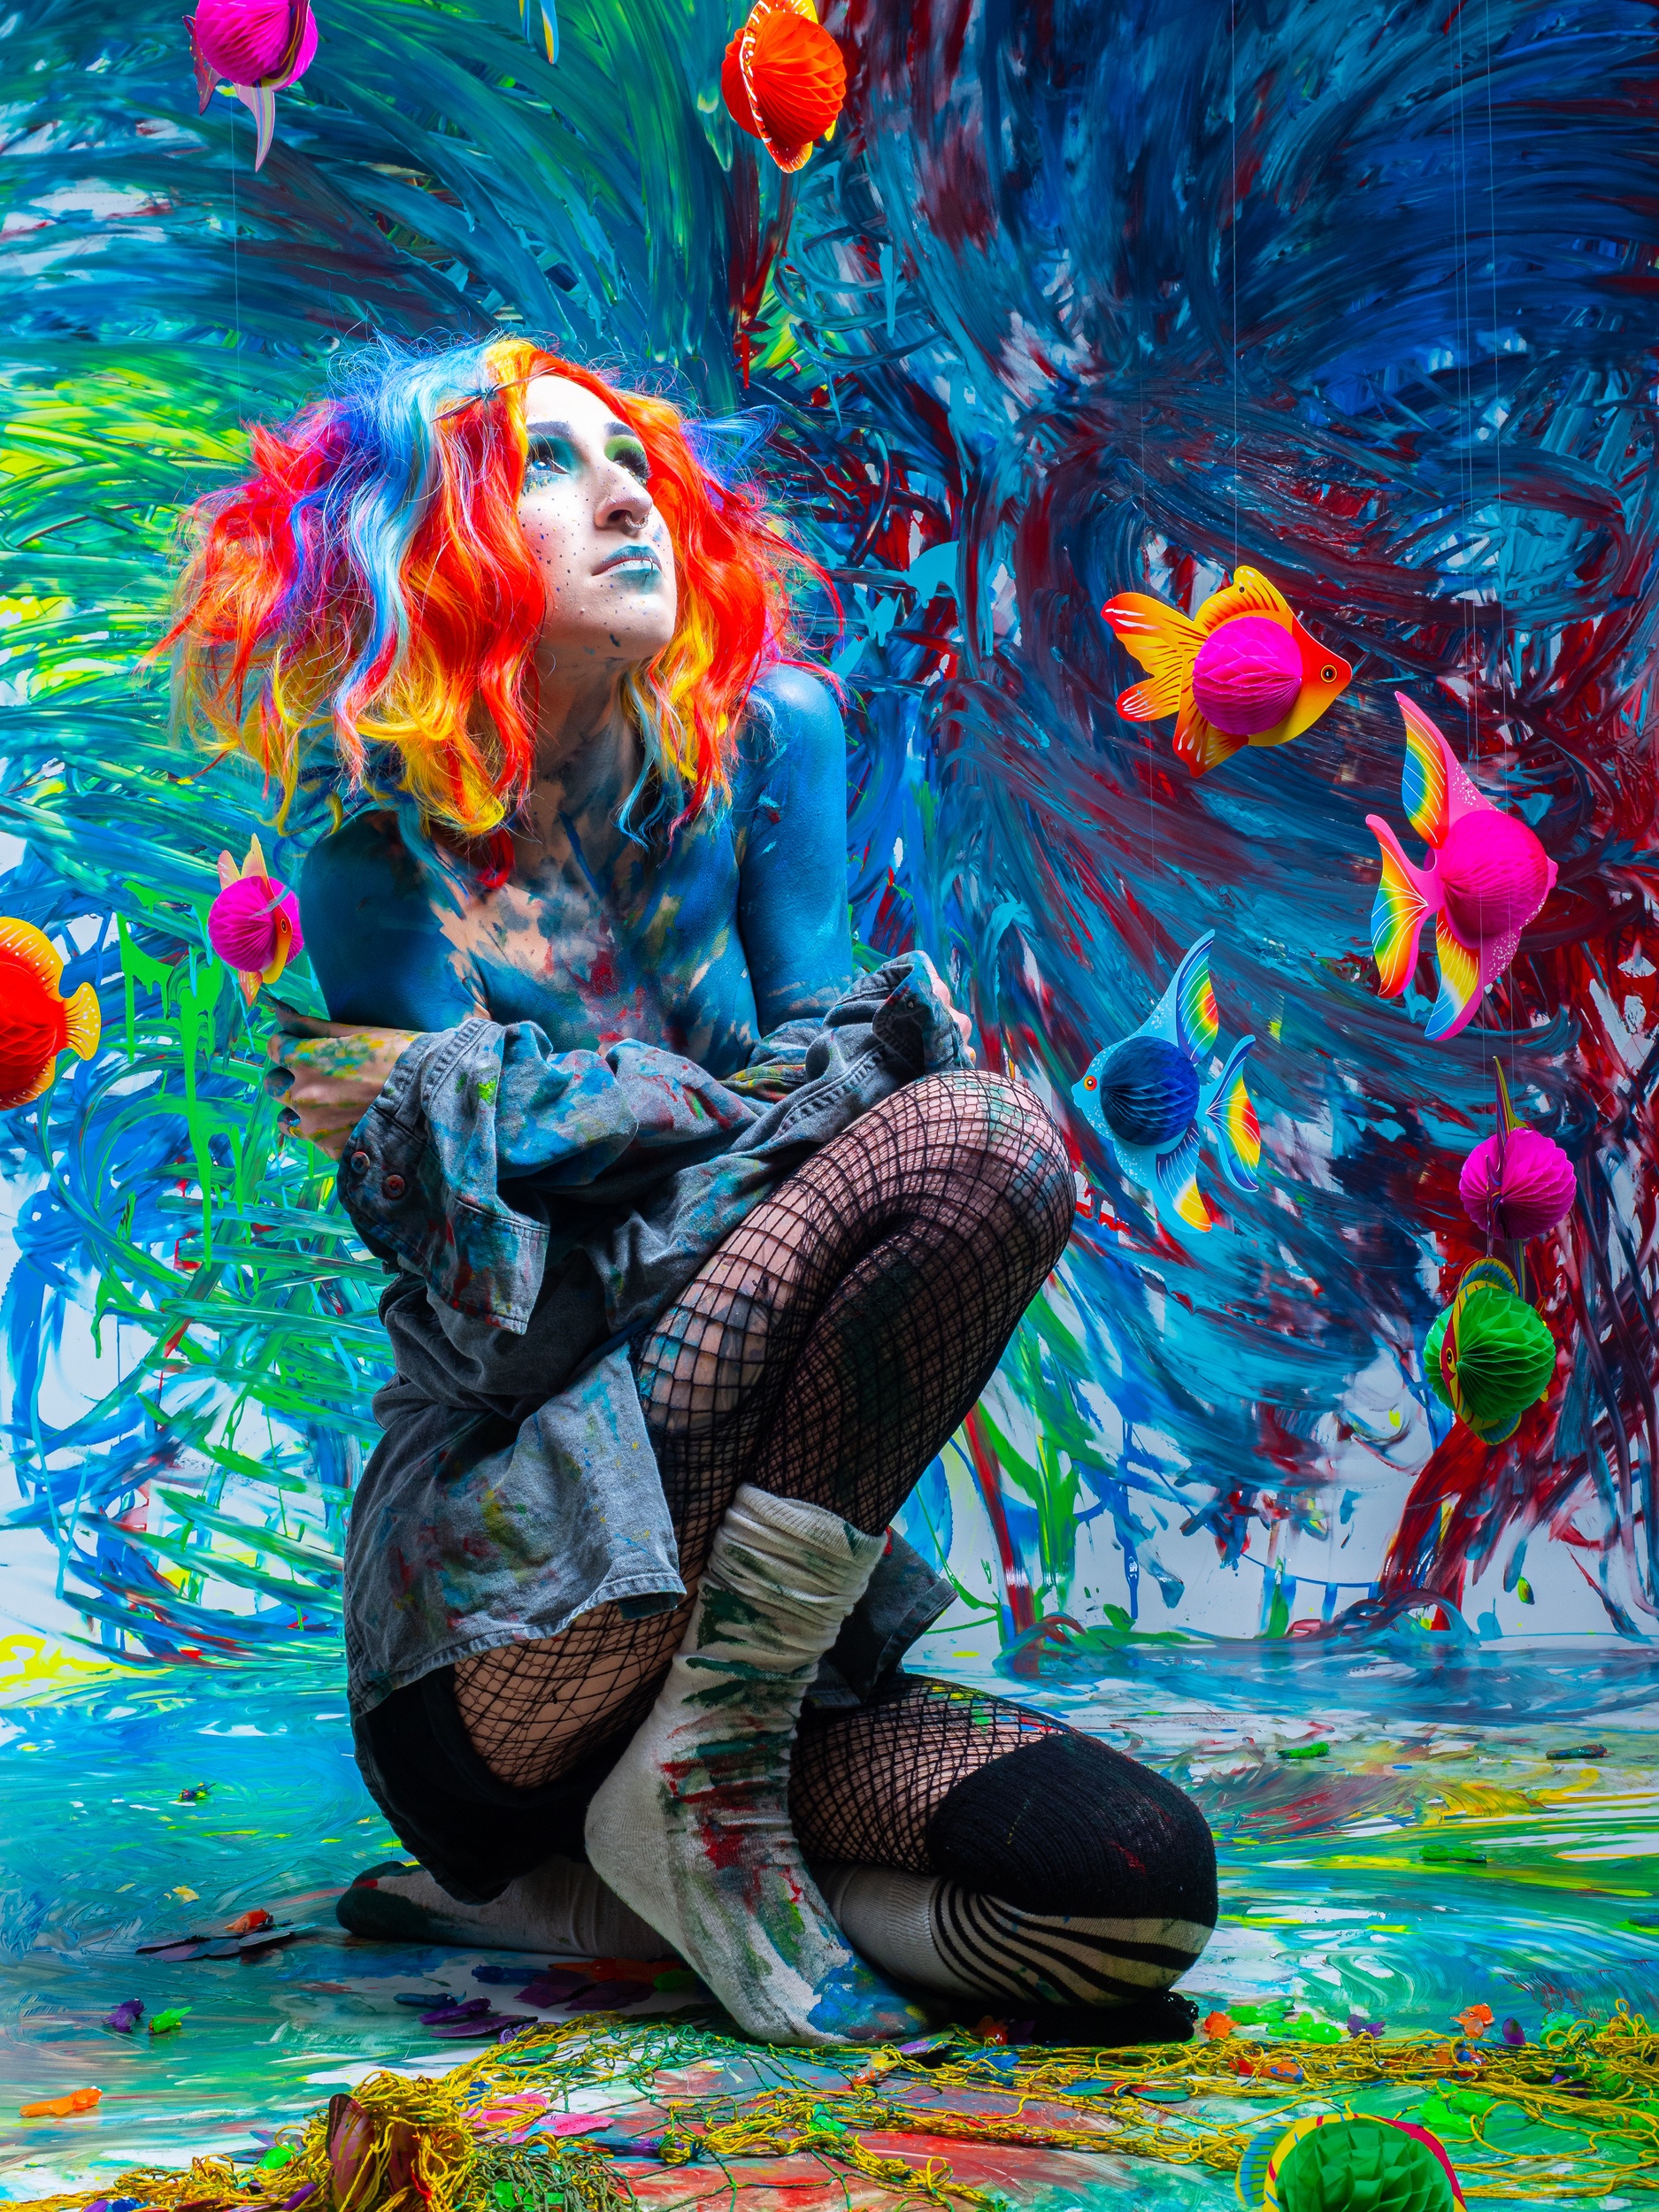
Olympus RAW File Edited in Lightroom
Here’s a slice of each image side by side for comparison, and then each of the other edits from the apps are available for viewing below
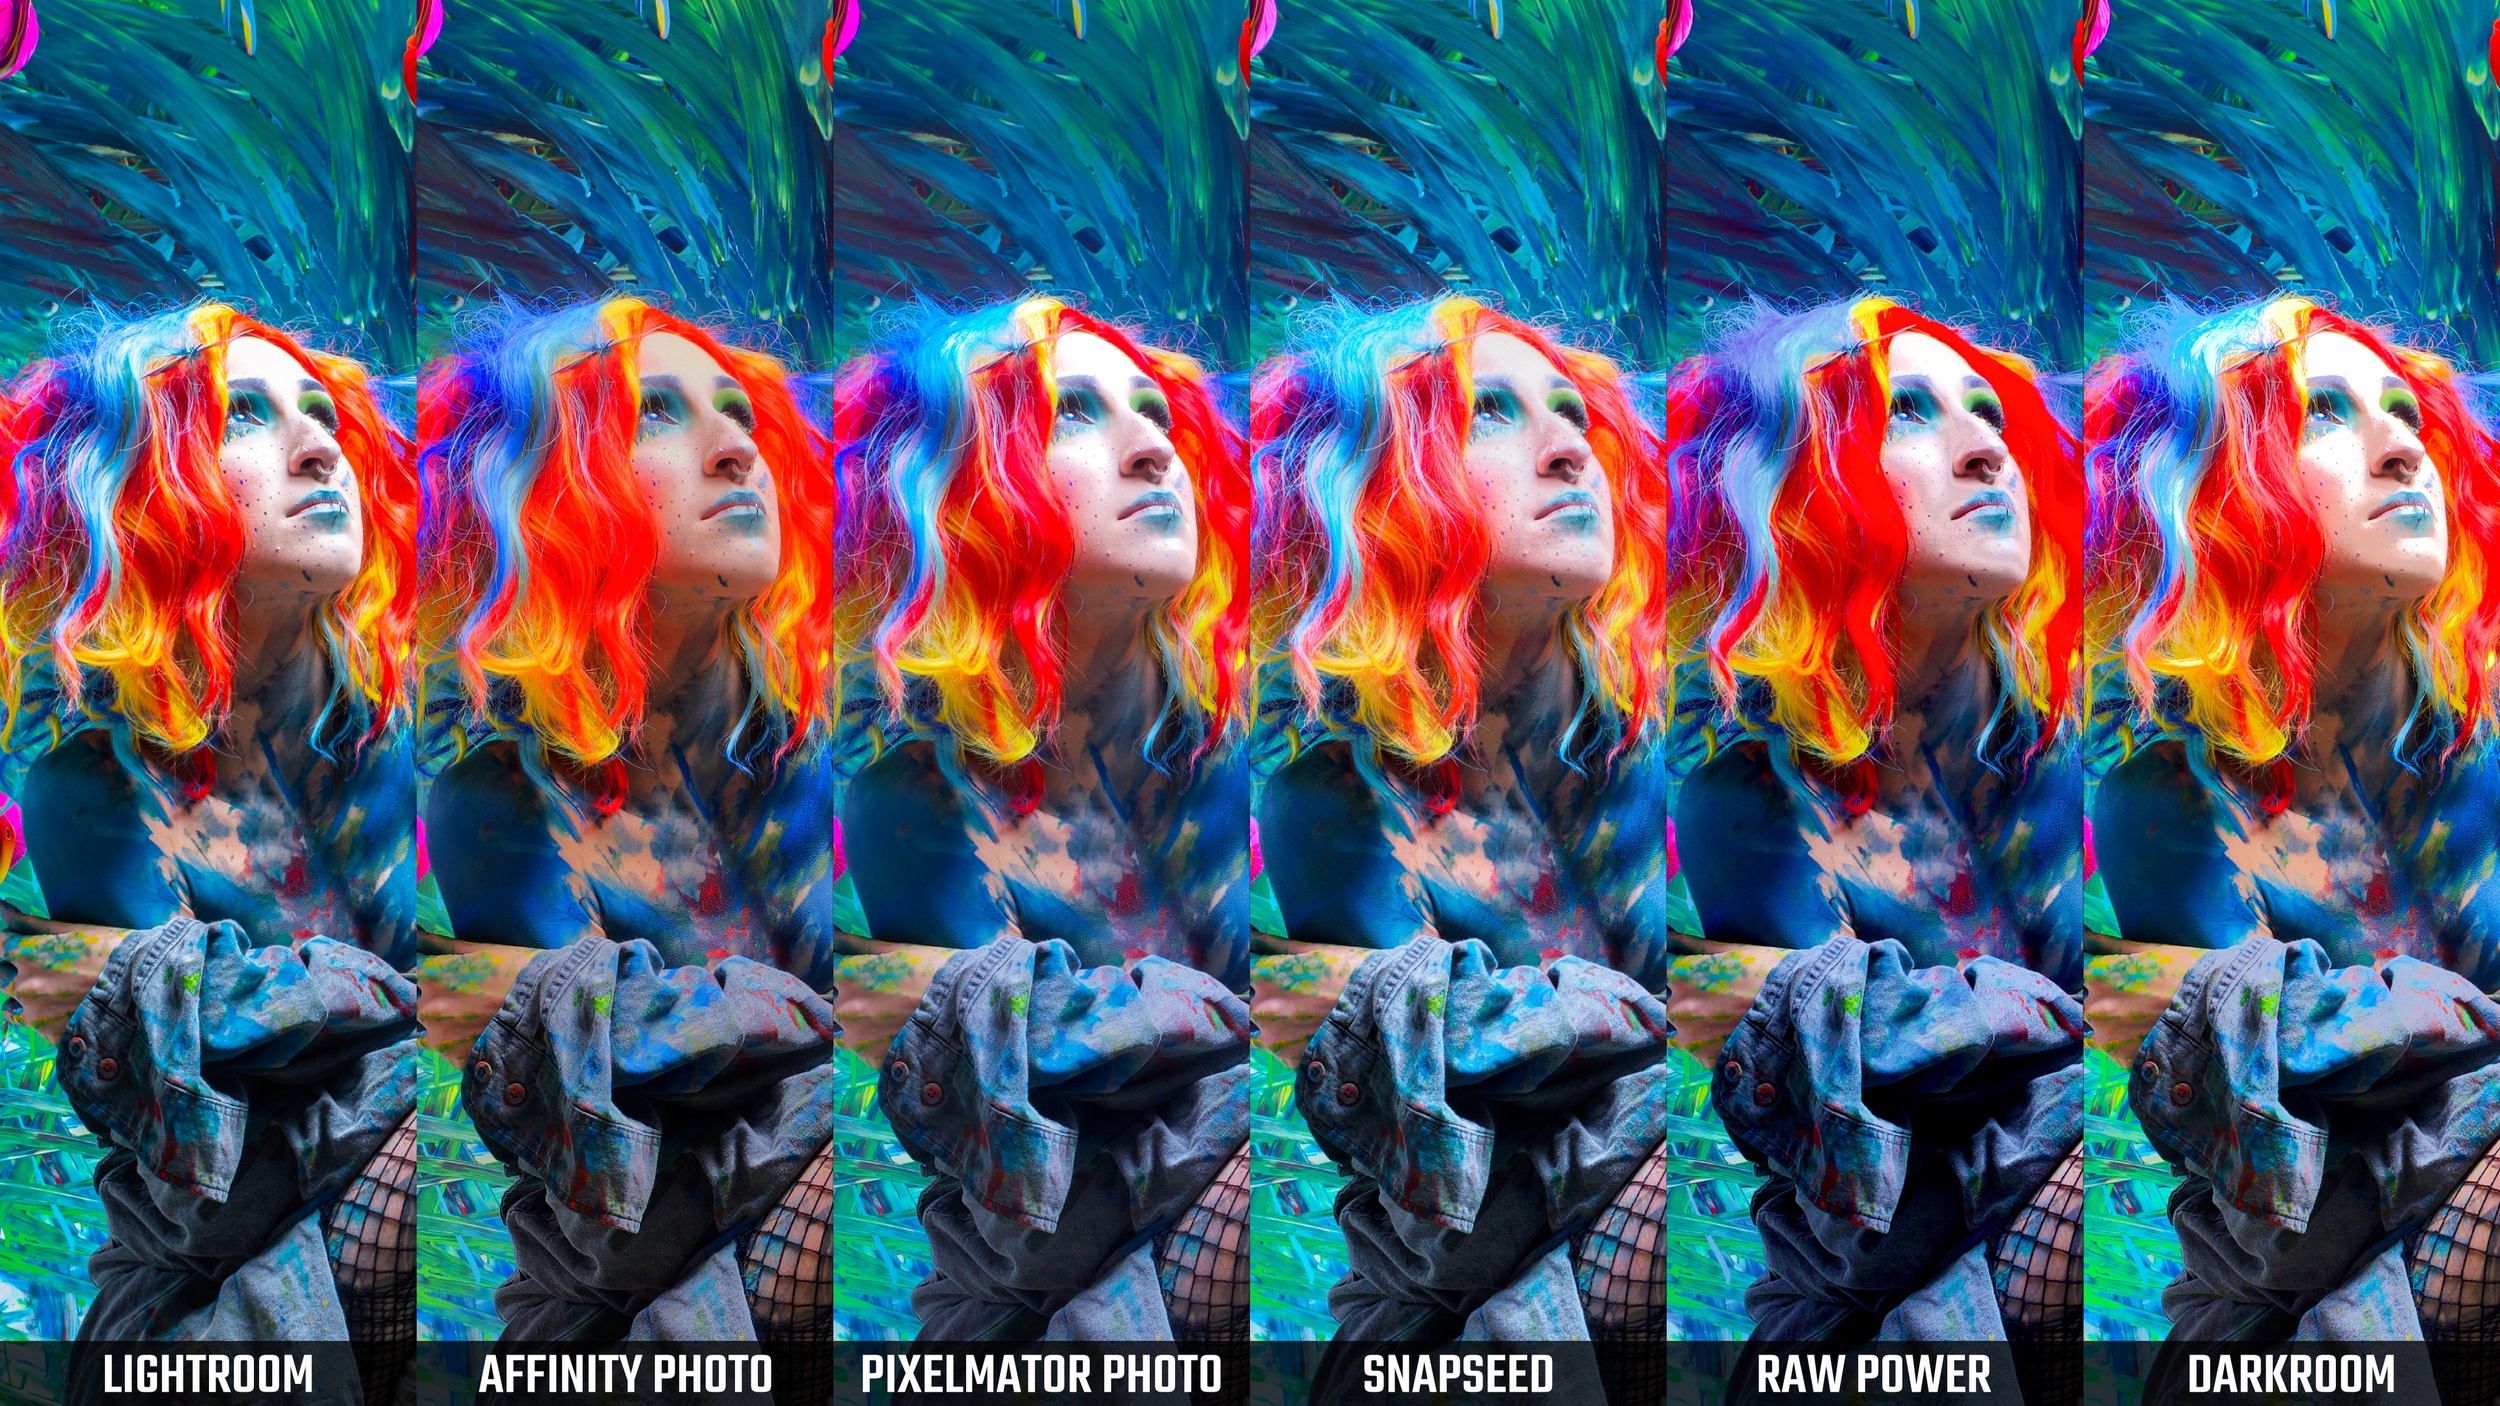
What I wanted to look at in this comparison is how well each app handled highlight recovery in slightly overexposed areas, how well it rendered color across the image, how well it maintained detail in areas with highly saturated colors, and how well it handled noise in the shadows.
You can review the each of the photos below to judge how each did for yourself.
LIGHTROOM
On all three accounts, Lightroom did a really nice job. It brought back significant detail in the hair and in Cecilia’s face, although her forehead is still a tiny bit hot.
It rendered and maintained color fidelity with the strong edits I did, and it did a nice job of keeping details in the highly saturated colors of her hair.
AFFINITY PHOTO
Olympus RAW File Edited in Affinity Photo
Affinity did a really great job of pulling in the highlights, but in doing so, the colors went way off.
Affinity also struggled to maintain details in the highly saturated colors of the hair, but it did do a nice job with clean shadows on her neck
PIXELMATOR PHOTO
Olympus RAW File Edited in Pixelmator Photo
Pixelmator Photo struggled on the highlight recovery, which is most evident in her overexposed forehead, but it did a nice job on color rendering, and an okay job of maintaining detail in the saturated highlights.
It also managed the shadows on the neck very nicely.
SNAPSEED
Olympus RAW File Edited in Snapseed
Next is Snapseed, and I included Snapseed because everyone loves to mention this for RAW editing on your mobile.
Once upon a time it was the gold standard, and in fact it was one of the first apps ever that could edit RAW files on a mobile device, but it has not aged well.
At first glance snapseed appears to do a really nice job of highlight recovery, color rendition, and maintaining detail in the saturated color areas, but upon closer inspection, all is not well.
If you look at the transition area between the highlights and shadows on Cecilia’s jawline, there’s this really ugly banding, and there’s a great deal of noise in the shadows.
On top of that, if you look at the entire image overall, Snapseed just does an ugly job of rendering the image.
RAW POWER
Olympus RAW File Edited in RAW Power
RAW Power fell really flat in this direct comparison. While it did a pretty nice job of rendering the colors, it really struggled with highlight recovery, creating these ugly transitions around the nose, lip and cheekbone areas,
and it did a horrible job of maintaining detail in the highly saturated areas of the hair.
DARKROOM
Olympus RAW File Edited in Darkroom
Finally, Darkroom also totally fell apart in this direct comparison. Highlight recovery was terrible, it’s got an ugly yellow/green color cast to it, there’s significant noise in the shadow areas on her neck, and it struggled
to maintain detail in the highly saturated areas.
MY CONCLUSION
Based on this comparison alone, in my opinion Lightroom was hands down the best, with Pixelmator Photo and Affinity Photo pretty much tied for second place, and Snapseed, RAW Power, and Darkroom all failing.
And to be fair, I wanted to do this comparison with a variety of RAW files, so I got a Canon, a Nikon, and a Sony RAW file, and you can peep all of those comparison images over on my website.
I found similar results with the other RAW images, though less extreme because the other RAWs were less demanding than my Olympus RAW was.
NIKON RAW SAMPLE
With the Nikon RAWs, you can see that Lightroom and Affinity held up pretty well, with the rest of them falling a little bit flat.
An important note with the Nikon is that Snapseed didn’t support the RAW file, and instead pulled in the embedded jpeg preview, and the RAW is from a Nikon D500, which is a three year old camera.
FULL SET OF NIKON RAW EDITS:
Nikon RAW File Edited in Lightroom

Nikon RAW File Edited in Affinity Photo
Nikon RAW File Edited in Pixelmator Photo
Nikon RAW File Edited in Snapseed

Nikon RAW File Edited in Raw Power
Nikon RAW File Edited in Darkroom
CANON RAW SAMPLE
With the Canon RAW, they all actually did a nice job, though Affinity’s colors are a bit much.

Canon RAW File Edited in Affinity Photo
Canon RAW File Edited in Darkroom
Canon RAW File Edited in Lightroom
Canon RAW File Edited in Pixelmator Photo
Canon RAW File Edited in RAW Power
Canon RAW File Edited in Snapseed
SONY RAW SAMPLE
With the Sony RAW, the results were very similar to the Canon RAW, quite nice across the board except for Affinity’s more aggressive colors, and again Snapseed failed to recognize the Sony RAW file, this one from the two year old A9.
Sony RAW file edited in Affinity Photo
Sony RAW file edited in Darkroom

Sony RAW file edited in Lightroom
Sony RAW file edited in Pixelmator Photo

Sony RAW file edited in RAW Power

Sony RAW file edited in Snapseed
RELATIVE COMPARISON
The direct comparison is the most difficult comparison, because regardless of how bad it looked, as best as possible I was using the exact same settings in each app.
I did this direct comparison to see how the apps fared when settings were pushed to the extreme, and to see what their limitations were.
This next comparison is a relative comparison, with the same photo edited in each app independently.
The photos were edited to make them look as good as I could in each app, regardless of the settings used in any of the other apps.
LIGHTROOM
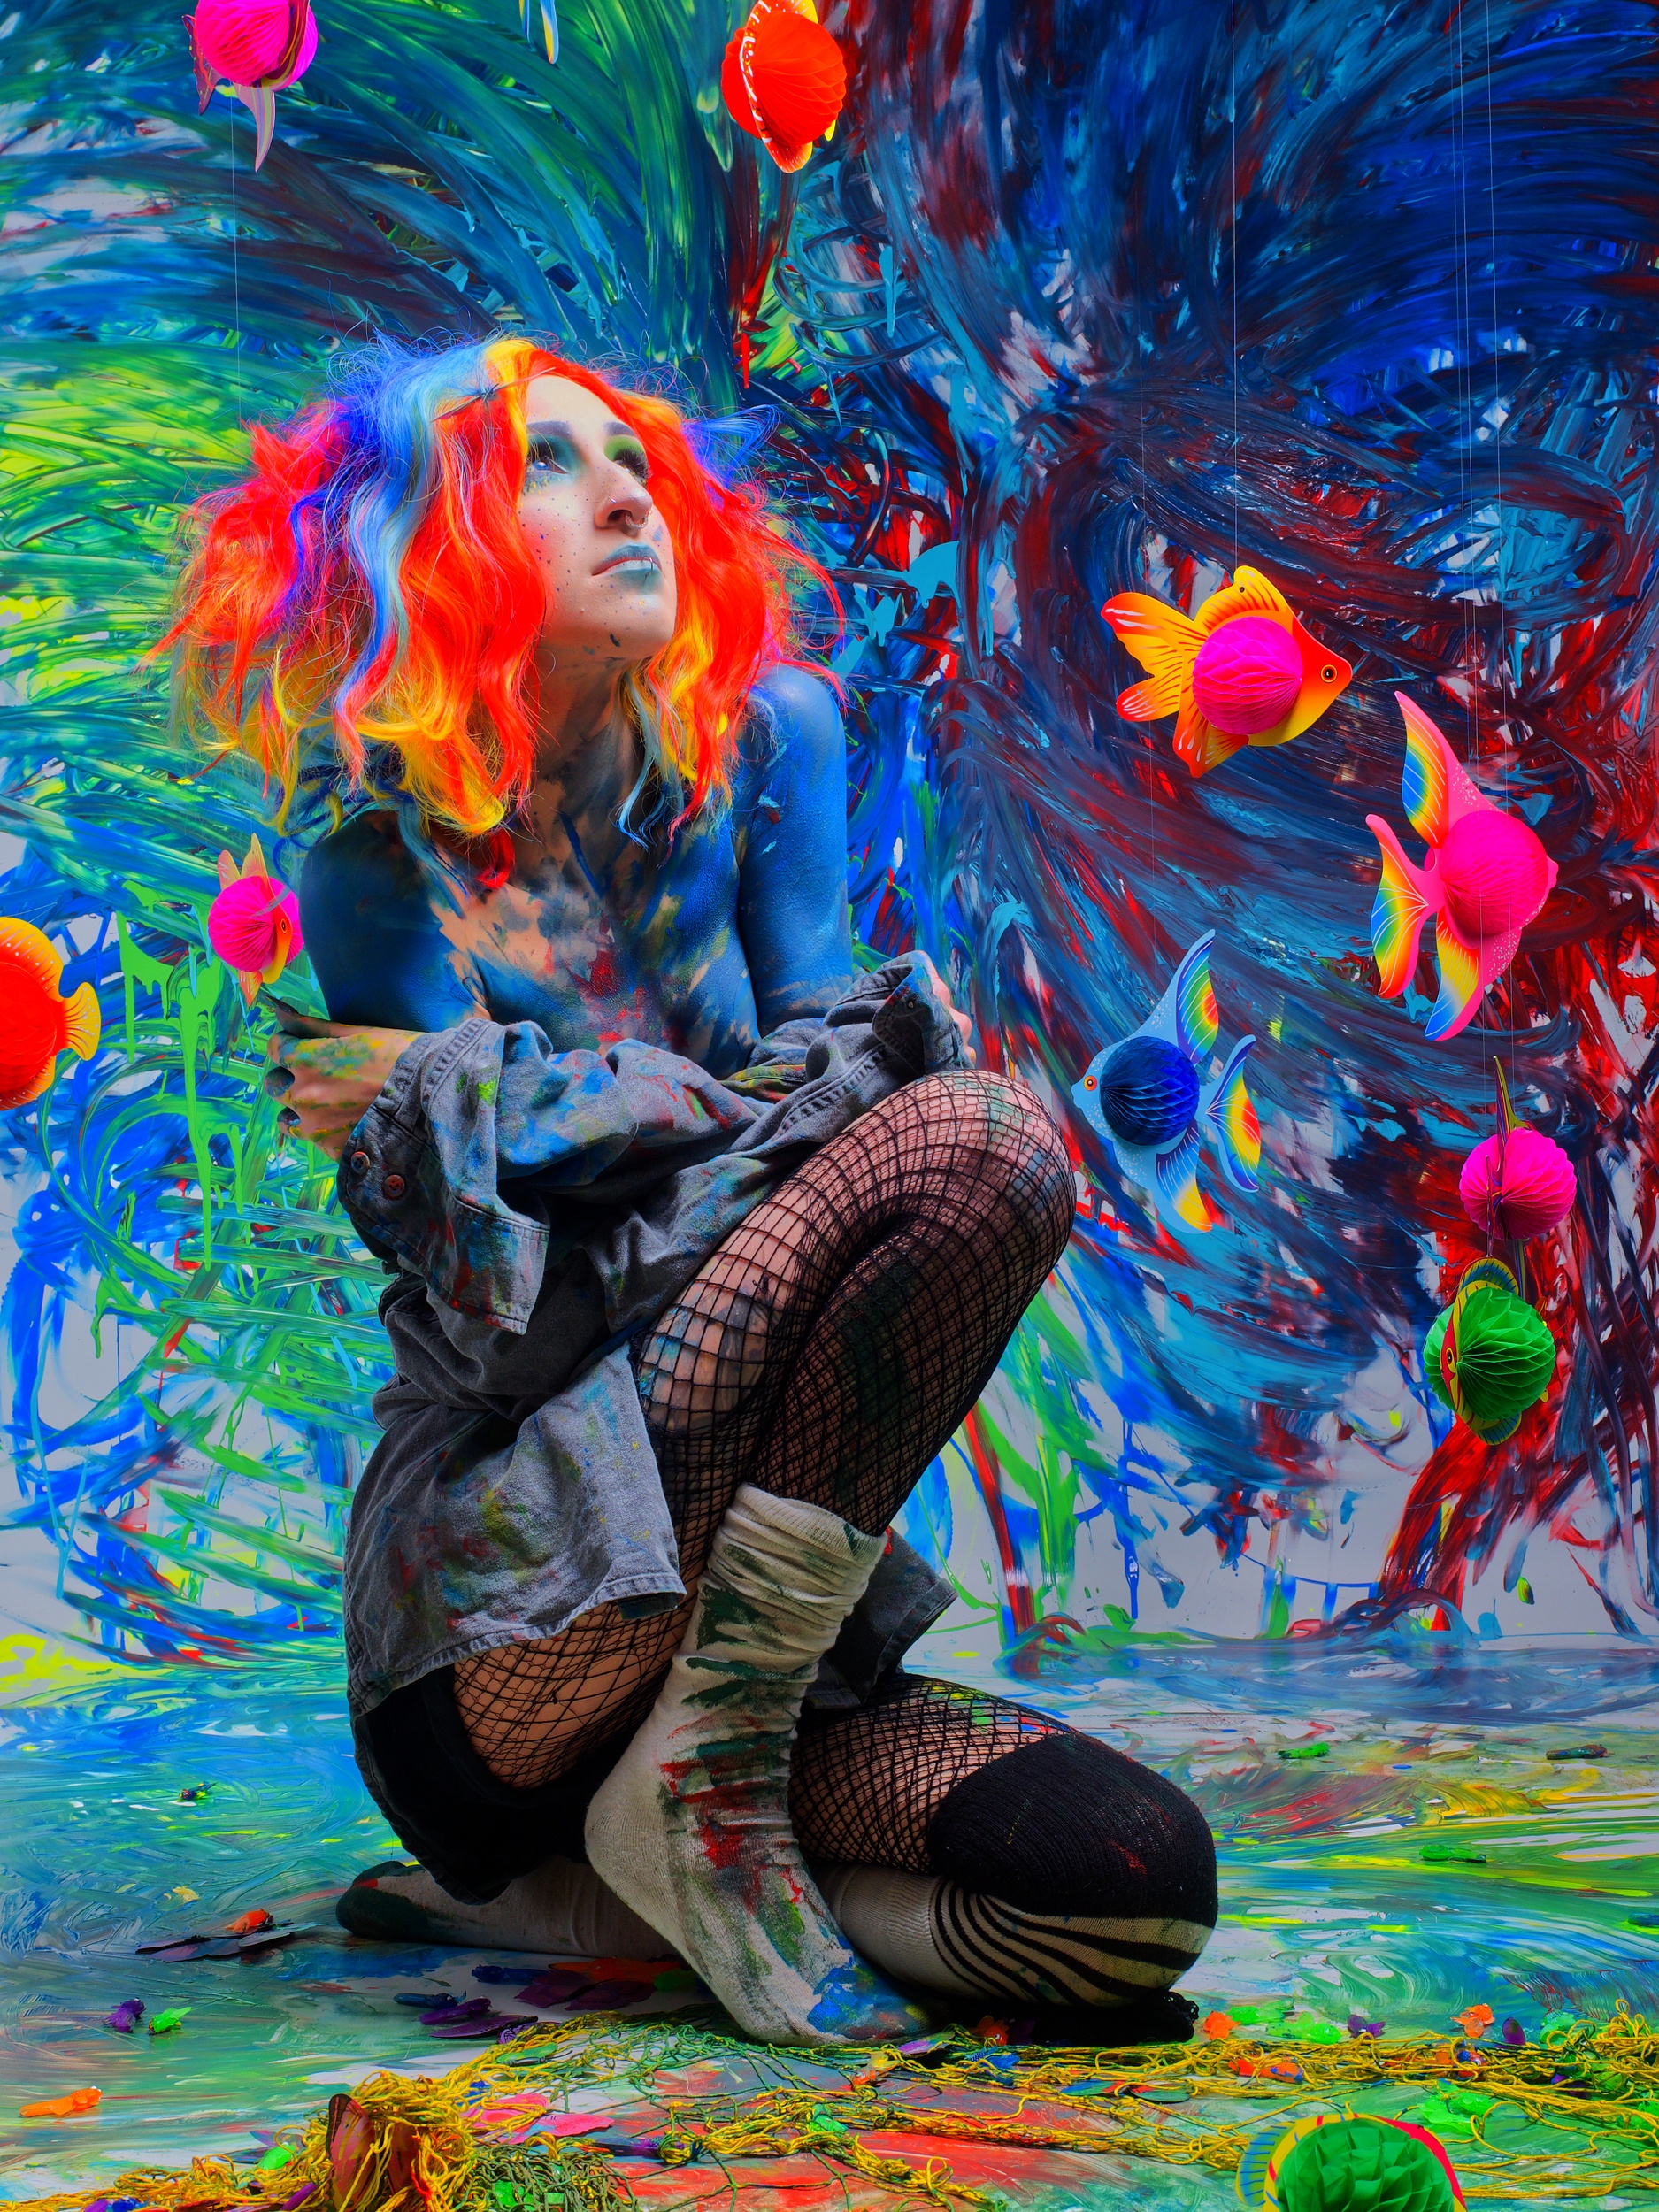
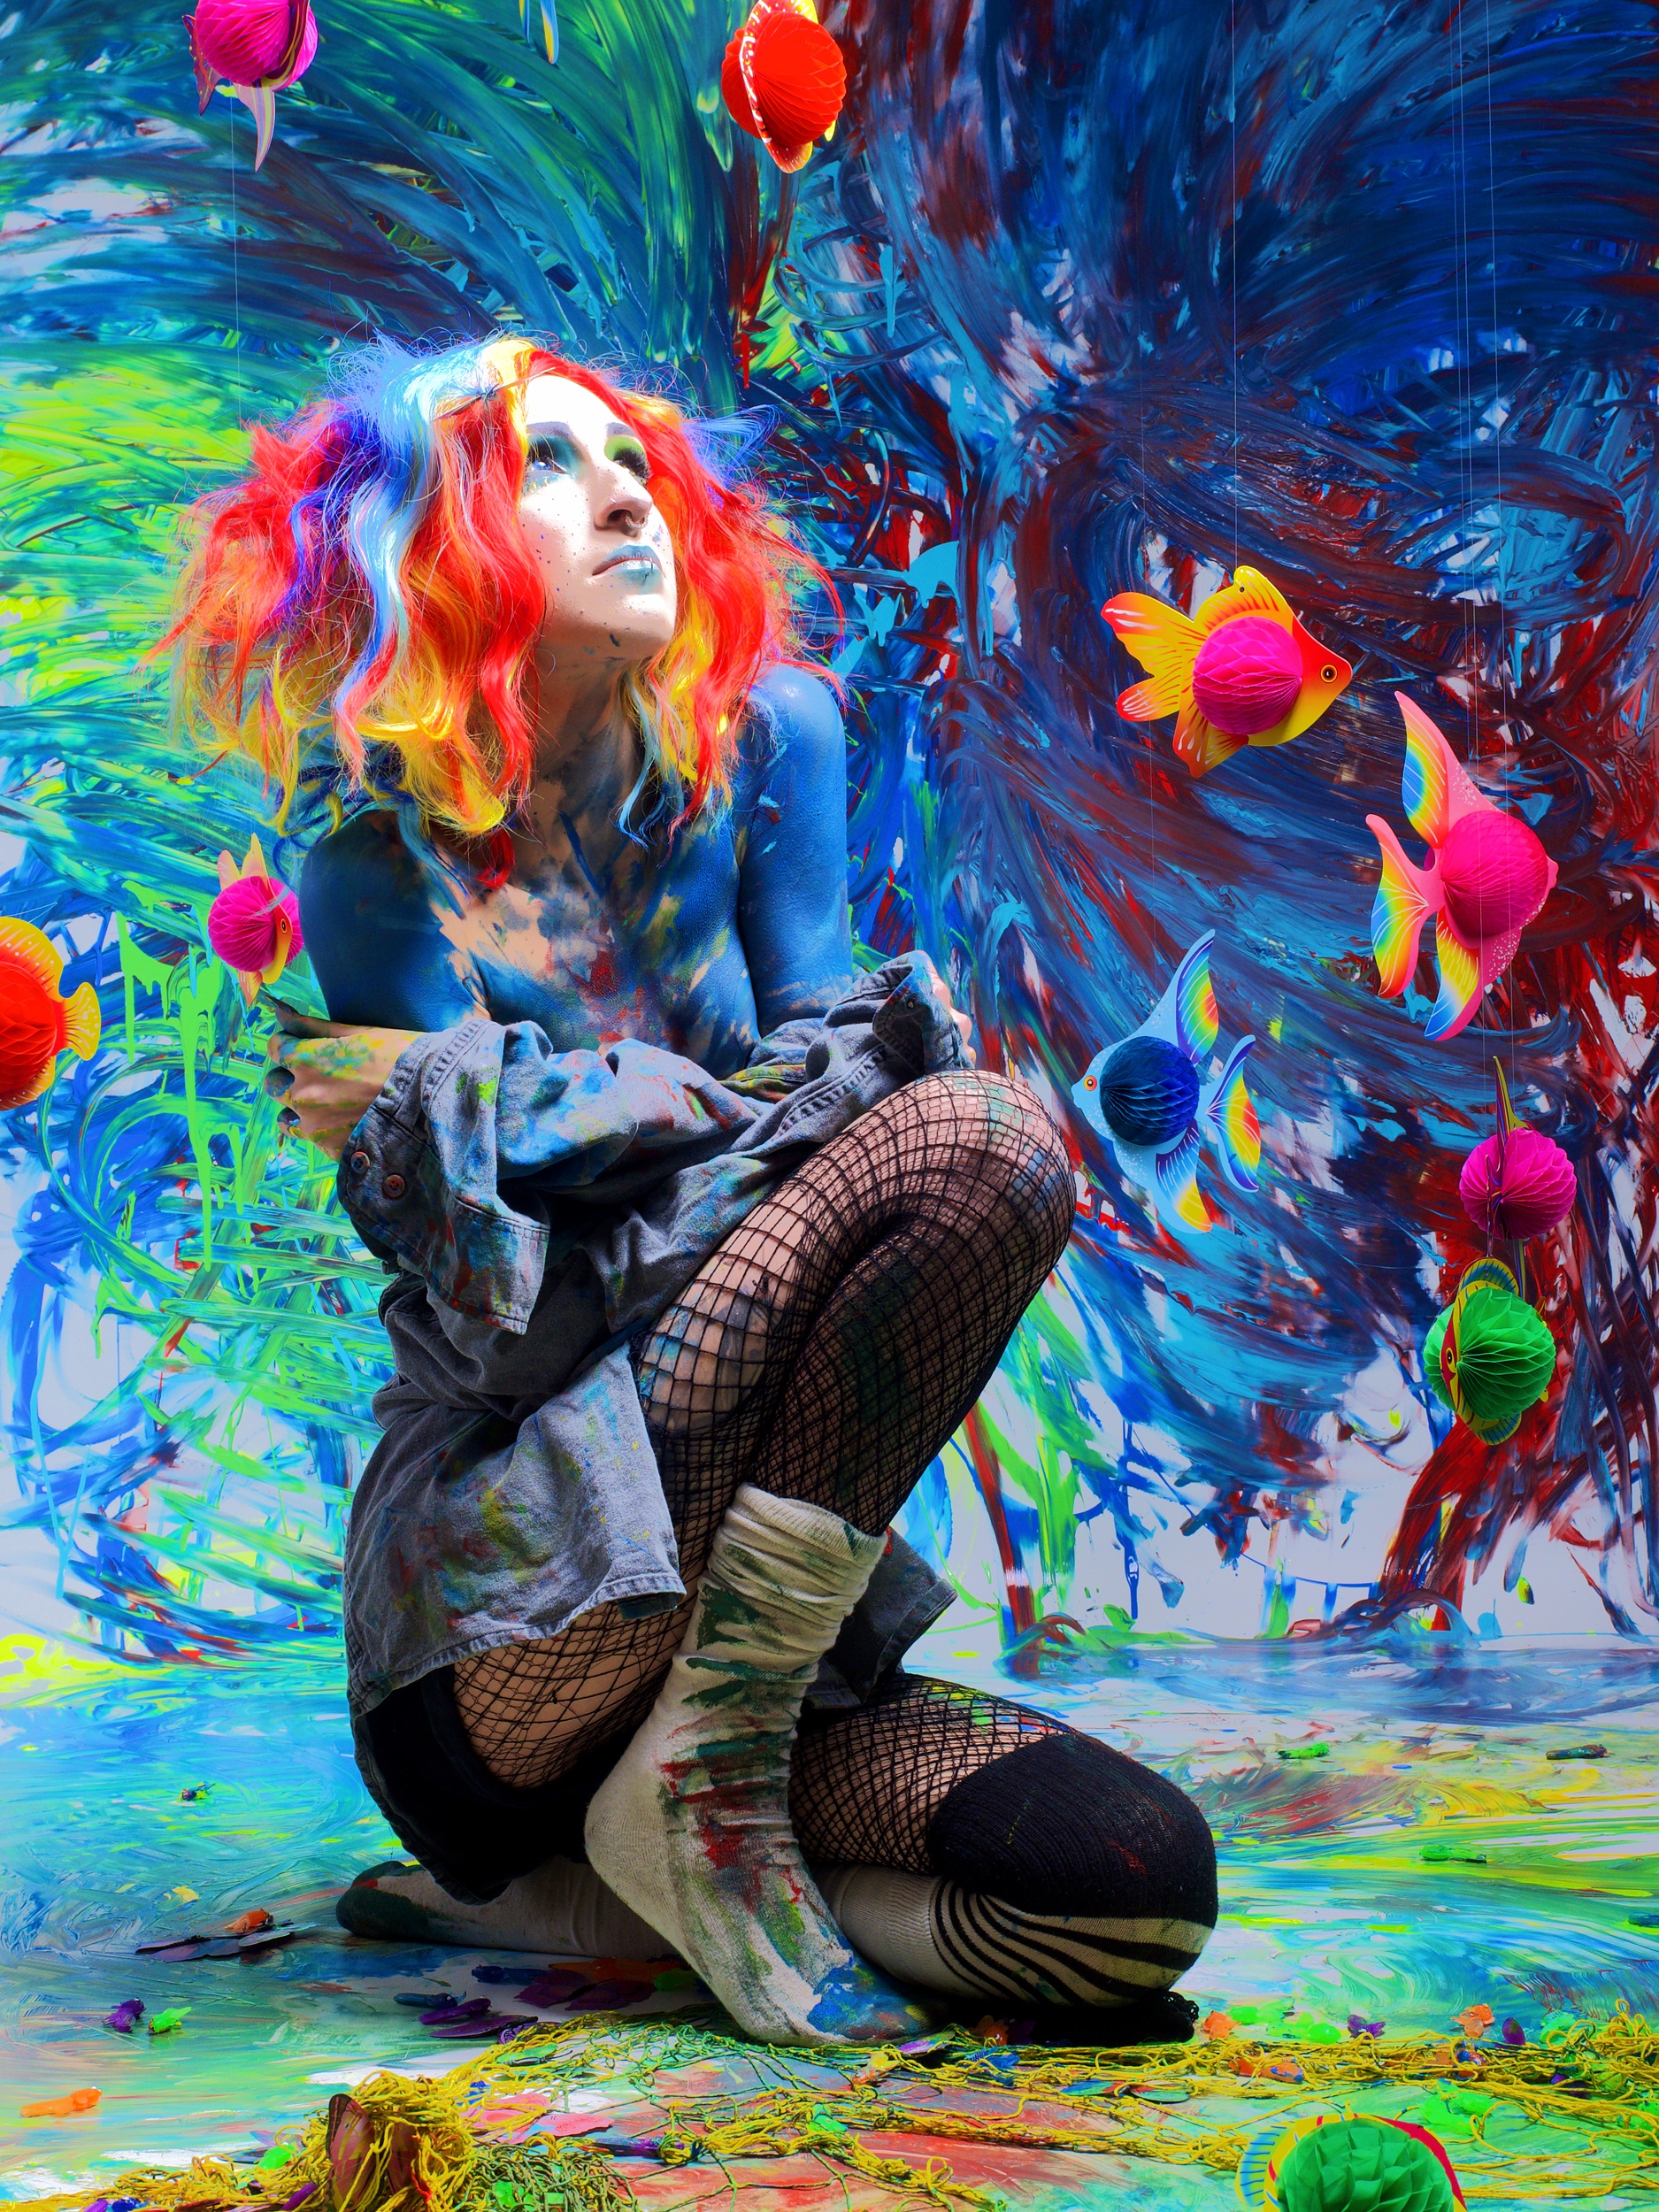
In Lightroom I made all the same changes, with one addition, which was changing the profile from the default Adobe Color, to my preferred profile of Adobe Neutral.

Olympus RAW File Edited in Lightroom
I’m really happy with how the image turned out. Good color, great highlight recovery, good detail in the saturated areas, and no excessive noise in the shadows on her neck.
AFFINITY PHOTO
Olympus RAW File Edited in Affinity Photo
Affinity Photo also did a great job, across the board. Great highlight recovery, in fact, a little bit better than Lightroom.
It has good detail in the saturated areas of the hair, though I think Lightroom did a slightly better job there, and there’s no excessive noise in the shadows on her neck.
PIXELMATOR PHOTO
Olympus RAW File Edited in Pixelmator Photo
Pixelmator Photo did a nice job as well. Nice colors, good job on highlight recovery, though not as good as Affinity or Lightroom,
It struggled a bit to maintain detail in the saturated areas but with a light touch it does an okay job, and the shadows look good with no ugly noise.
SNAPSEED
Olympus RAW File Edited in Snapseed
Snapseed, again, did pretty awful. First of all, the overall rendering just looks low quality, which kills the image. The one good thing Snapseed did here is render the colors.
It did okay with detail in the saturated colors, but it sucks in highlight recovery, the shadows are full of ugly noise, and again it just looks like the whole image was run through the facebook compression algorithm, which makes the whole thing look awful.
RAW POWER
Olympus RAW File Edited in RAW Power
RAW power did a nice job with everything but the detail in the saturated color. Just look at her hair. I looks like I took a marker to it.
DARKROOM

Olympus RAW File Edited in Darkroom
And finally Darkroom, actually did a very nice job across the board. Good color, good highlight recovery, though not quite as good as Lightroom or Affinity.
Pretty good detail in the saturated color areas, though it did struggle with that, and the shadow areas look okay too. There is some color noise there, but it’s not the worst that I’ve seen.
And, as I did with the direct comparison, I took the Sony, Canon, and Nikon RAW files through the same process. Here I found the performance of all of the apps was really pretty great, with the exception of Snapseed.
NIKON RAW SAMPLE
Nikon RAW file edited in Affinity Photo
Nikon RAW file edited in Darkroom

Nikon RAW file edited in Lightroom
Nikon RAW file edited in Pixelmator Photo

Nikon RAW file edited in RAW Power
Nikon RAW file edited in Snapseed
CANON RAW SAMPLE

Canon RAW File Edited in Affinity Photo
Canon RAW File Edited in Darkroom

Canon RAW File Edited in Lightroom
Canon RAW File Edited in Pixelmator Photo

Canon RAW File Edited in RAW Power

Canon RAW File Edited in Snapseed
SONY RAW SAMPLE
Sony RAW File Edited Snapseed

Sony RAW File Edited RAW Power
Sony RAW File Edited Pixelmator Photo

Sony RAW File Edited in Lightroom

Sony RAW File Edited in Darkroom
Sony RAW File Edited in Affinity Photo
In the end, it’s up to you to draw your own conclusions, but purely in terms of image quality and ability to edit RAW files, my order of preference for these apps is Lightroom, followed by Affinity Photo, then Pixelmator Photo, then Darkroom, RAW Power, and if I had no other choice, Snapseed.
In next week’s video I’m going to look at the other features each of these apps offers, including asset and file management tools, a comparison of the actual RAW editing tools available, and export options.
In the meantime, if you have any questions about editing or managing your RAW files on iPad, let me know in the comments, and I have a question for you, based on the results I got in my comparison, if you had to pick just one, which of these apps would you pick as your RAW editor of choice?